RSS Feed

Monthly Archives: May 2013

Taste the High Country

Posted on

Steven and I rode the brand new West Rail Line to Golden, Colorado on its first day of operation.

Photo courtesy of the City of Golden

Photo courtesy of the City of Golden

That was fun.  It was even more fun to cycle to Golden and back the next day.

Golden Route

As the name implies the Clear Creek Trail follows Clear Creek from metro Denver to Golden.  We joined the trail near its mid-point as it passes through Wheat Ridge.  The trail has been upgraded over the years and now has an excellent surface for most of its length.

Photo courtesy of Remnant

Photo courtesy of Remnant

A major landmark signals your arrival at the outskirts of Golden.  The massive MillerCoors brewery.  This is just a part of it.  Steven and I were intrigued by the round structure to the left.  We don’t know what it is houses or is for.

Photo courtesy of Remnant

Photo courtesy of Remnant

Next comes the bridge across West 44th Avenue.

Golden Bridge

The trail then takes you through Vanover Park and alongside Parfet Park.

Photo courtesy of Robin Kanouse

Photo courtesy of Robin Kanouse

Then comes History Park with its late 1800s mountain ranch buildings.

We looped around the History Park and onto Washington Avenue.

%0A					-2

Where we parked ourselves outside Goozell Yogurt and Coffee for a treat before riding back to Wheat Ridge.

%0A

Share The Road 2

Posted on

A recent post on the always excellent Cycling Tips blog asked the question “How far from the curb should you ride?”  Like the author I think it depends on the road and traffic conditions.

Traffic conditions that these creative “Share the Road” campaign posters from LifeCycle seek to improve.

Share the Road 1 Share the Road 2 Share the Road 3 Share the Road 4 Share the Road 5

Email at info@life-cycle.co for the hi-res posters.

I Don’t Leave Home Without Them

Posted on

For a quarter of a century the advertising campaign featuring the words “Don’t leave home without them” referred to these.

AMEX Travelers Cheques

I have never ridden with a traveler’s cheque in my jersey pocket.  I don’t know anyone who has.  All cyclists have some things that we regularly carry with us on our rides.  Some cash for example.  Or a Road ID.

There are very few items that I have with me on every ride.  I have forgotten to pack socks.  I often dispense with gloves.   I have left my mobile phone at home.  There is however one thing that I always bring with me on my rides.

Cleat covers.

I use Speedplay Zero pedals.  They were recommended to me when I bought my first road bike.  It is the only pedal system I have used since.  I like them a lot.  Like other users I have encountered the two main drawbacks with Speedplays.  Both to do with the cleats.

Speedplay Zero Cleat

When I walked in my cycling shoes the cleats got clogged up with dirt and mud.  The large metal surface area also made them quite slippery on hard floors.  I had a few near misses as I skated on concrete and the like.

It wasn’t long before I invested in a set of Coffee Shop Caps.

Coffee Shop Caps

These clip onto the cleats to keep dirt out and provide traction while walking.  I would put then on my cleats when I got off my bike, and stuff them into a jersey pocket when it was time to ride again.  My only mishap with the Coffee Shop Caps was that one fell off while I was walking around a rest area during a charity ride. I never found it, but later came across one that someone else had lost.

I found an alternative to the Speedplay branded covers while surfing the internet.

Kool Kovers Speedplay

Kool Kovers make covers for Shimano and Look cleats as well.  I haven’t tried the Kool Kovers though.  I found a better option.

My go-to cleat covers now are these Keep On Kovers.

Keep on Kovers

The big advantage of these covers is that are designed to stay on at all times.  No more muddy cleat covers in my jersey pocket.  I can clip in and out of the pedals with the covers on.  These covers still keep dirt and mud out of the cleat springs despite the opening for the pedal.  I have yet to lose a cover either.

I don’t leave home without them.  Ever.

How To Join a Bicycle To a Car

Posted on

Bike and Car

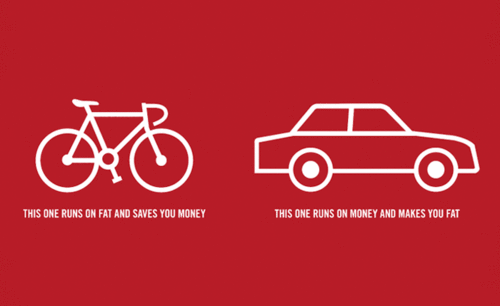
This meme promoting cycling over driving pops up in various guises on the internet.  At least one blogger recently checked to see if the sentiment holds water.  Your results will vary.

I was able to keep bike and car separate.  Well, in the beginning anyway.  When I started cycling in Houston I was able to roll out of the Commerce Towers car park onto Travis Street and pedal away.  Everywhere I wanted to get to was within cycling distance.  That is until I decided to commission a custom built bicycle from Alchemy Bicycle Company, located at that time in Austin.  As part of the process of deciding what frame material and geometry would best suit me, James Flatman wanted to see what I was riding at the time (see Jumping Into The Deep End for more).

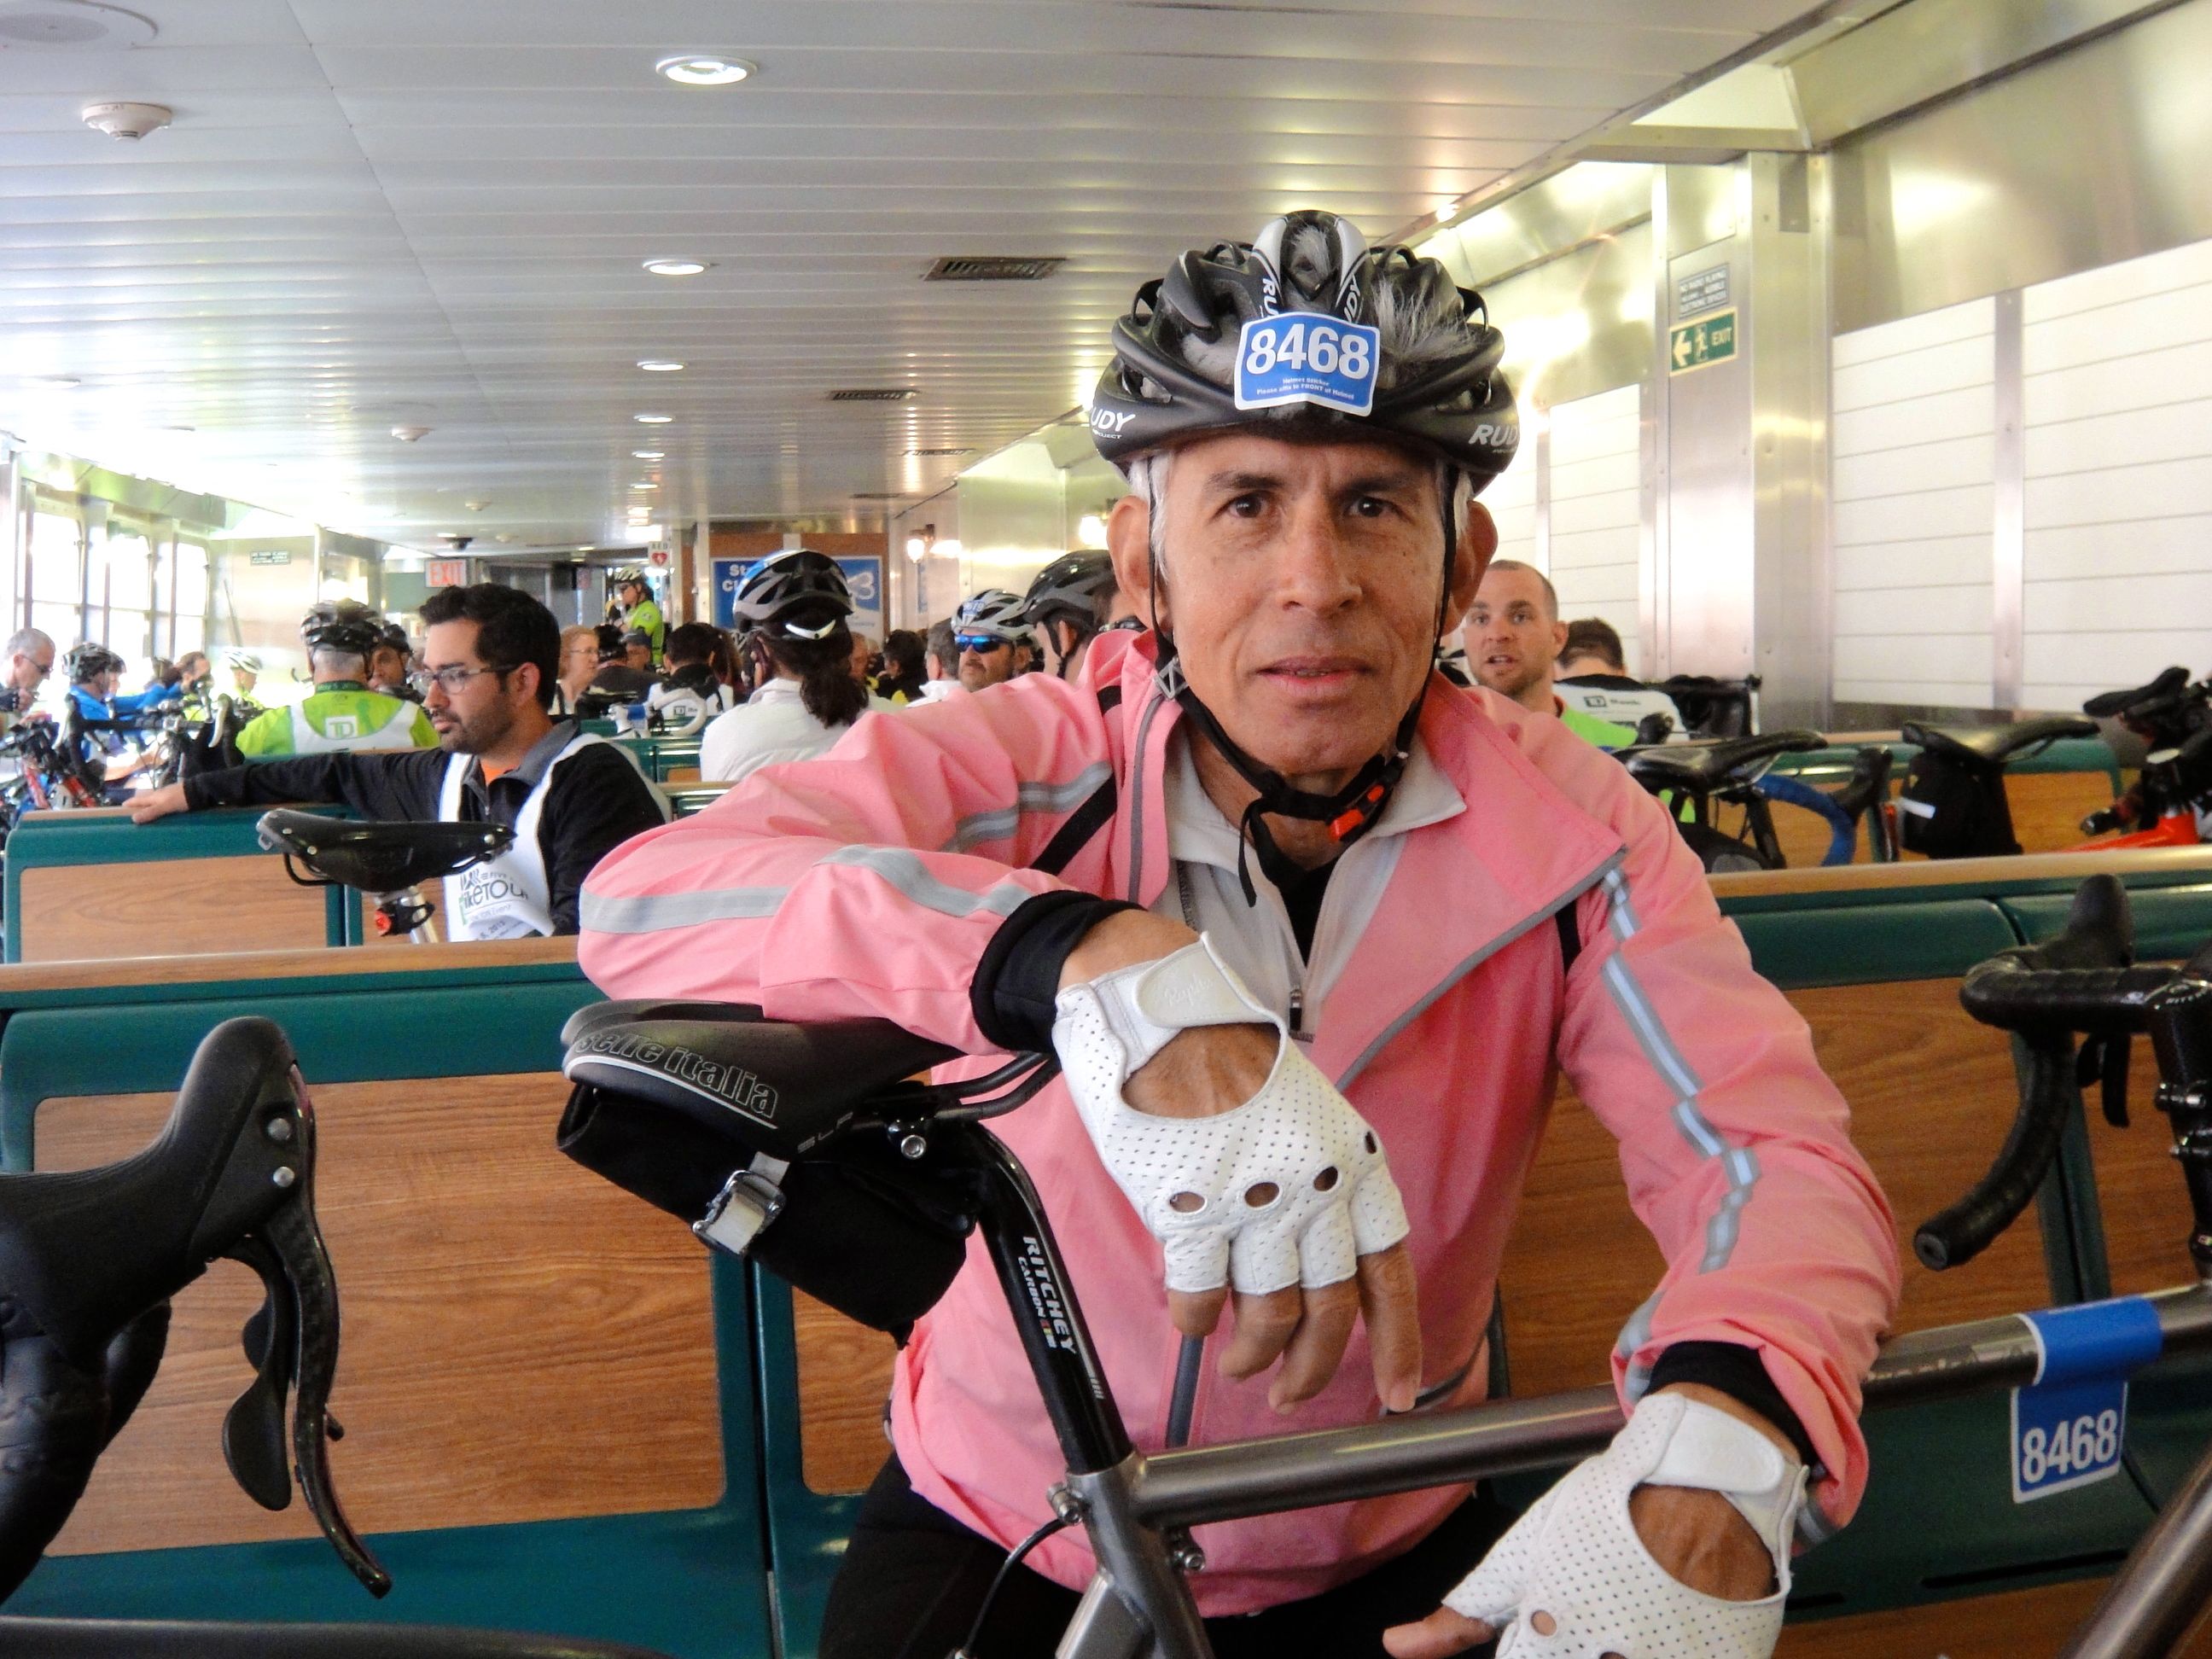
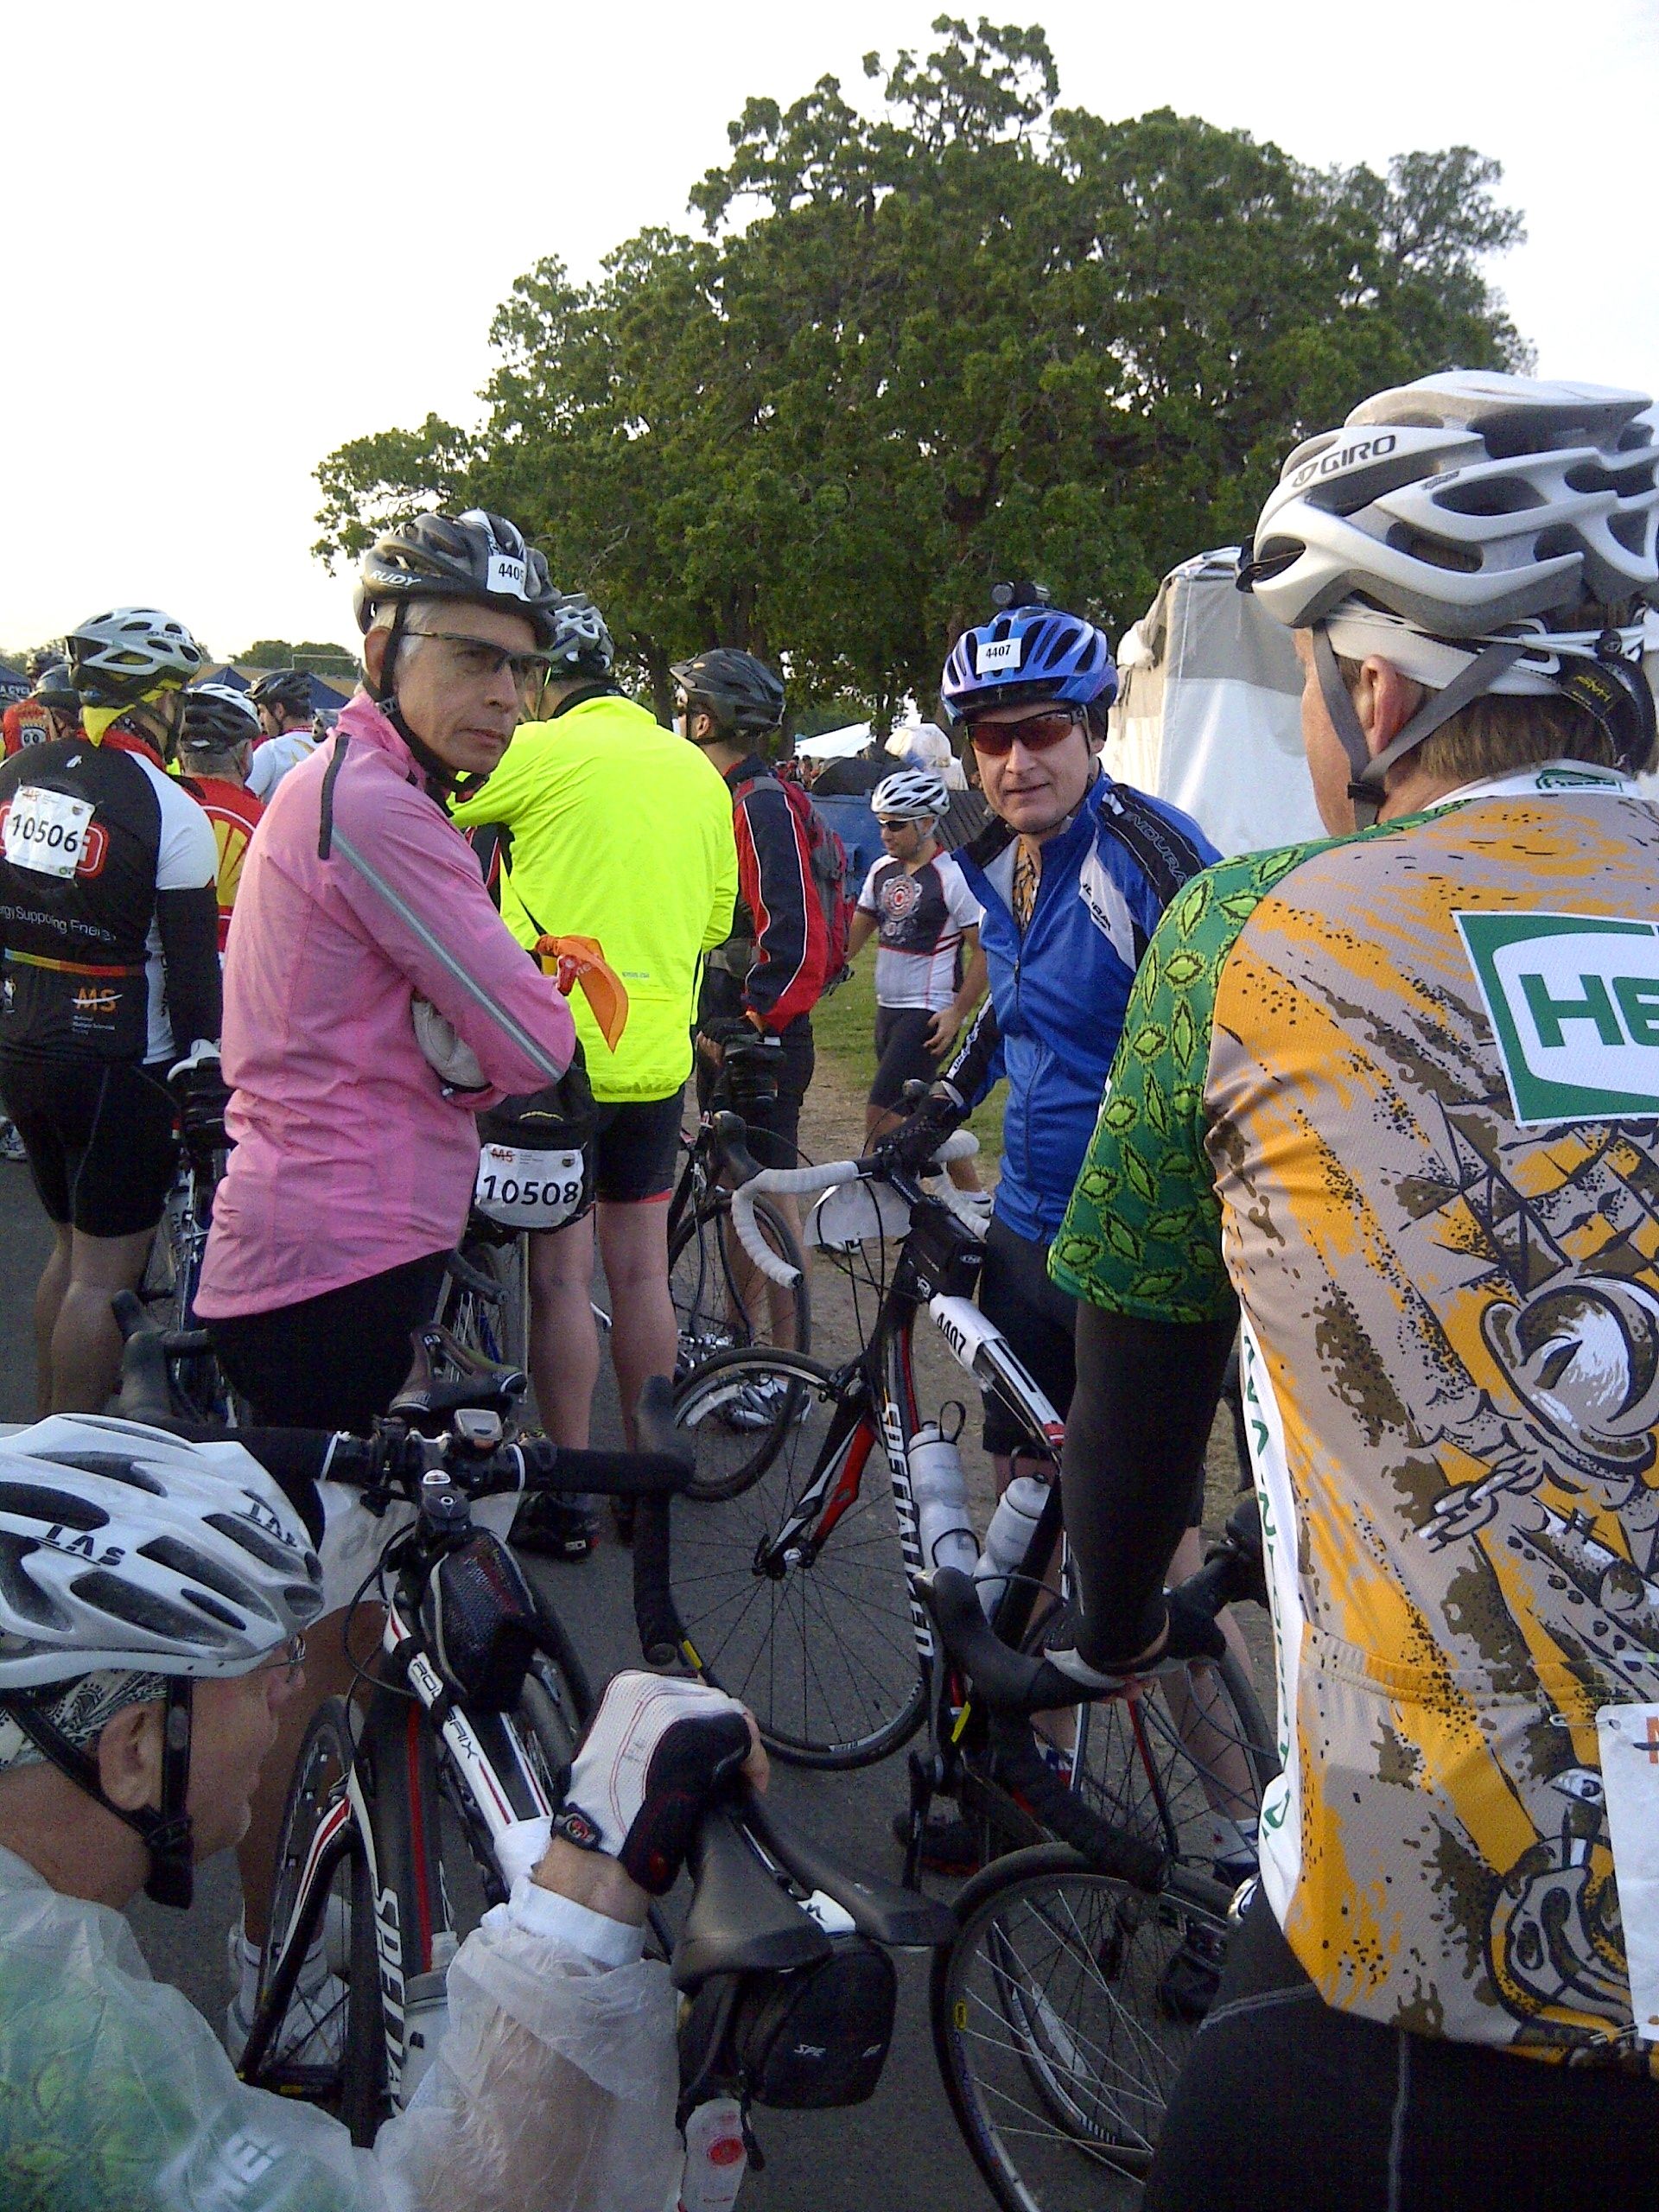
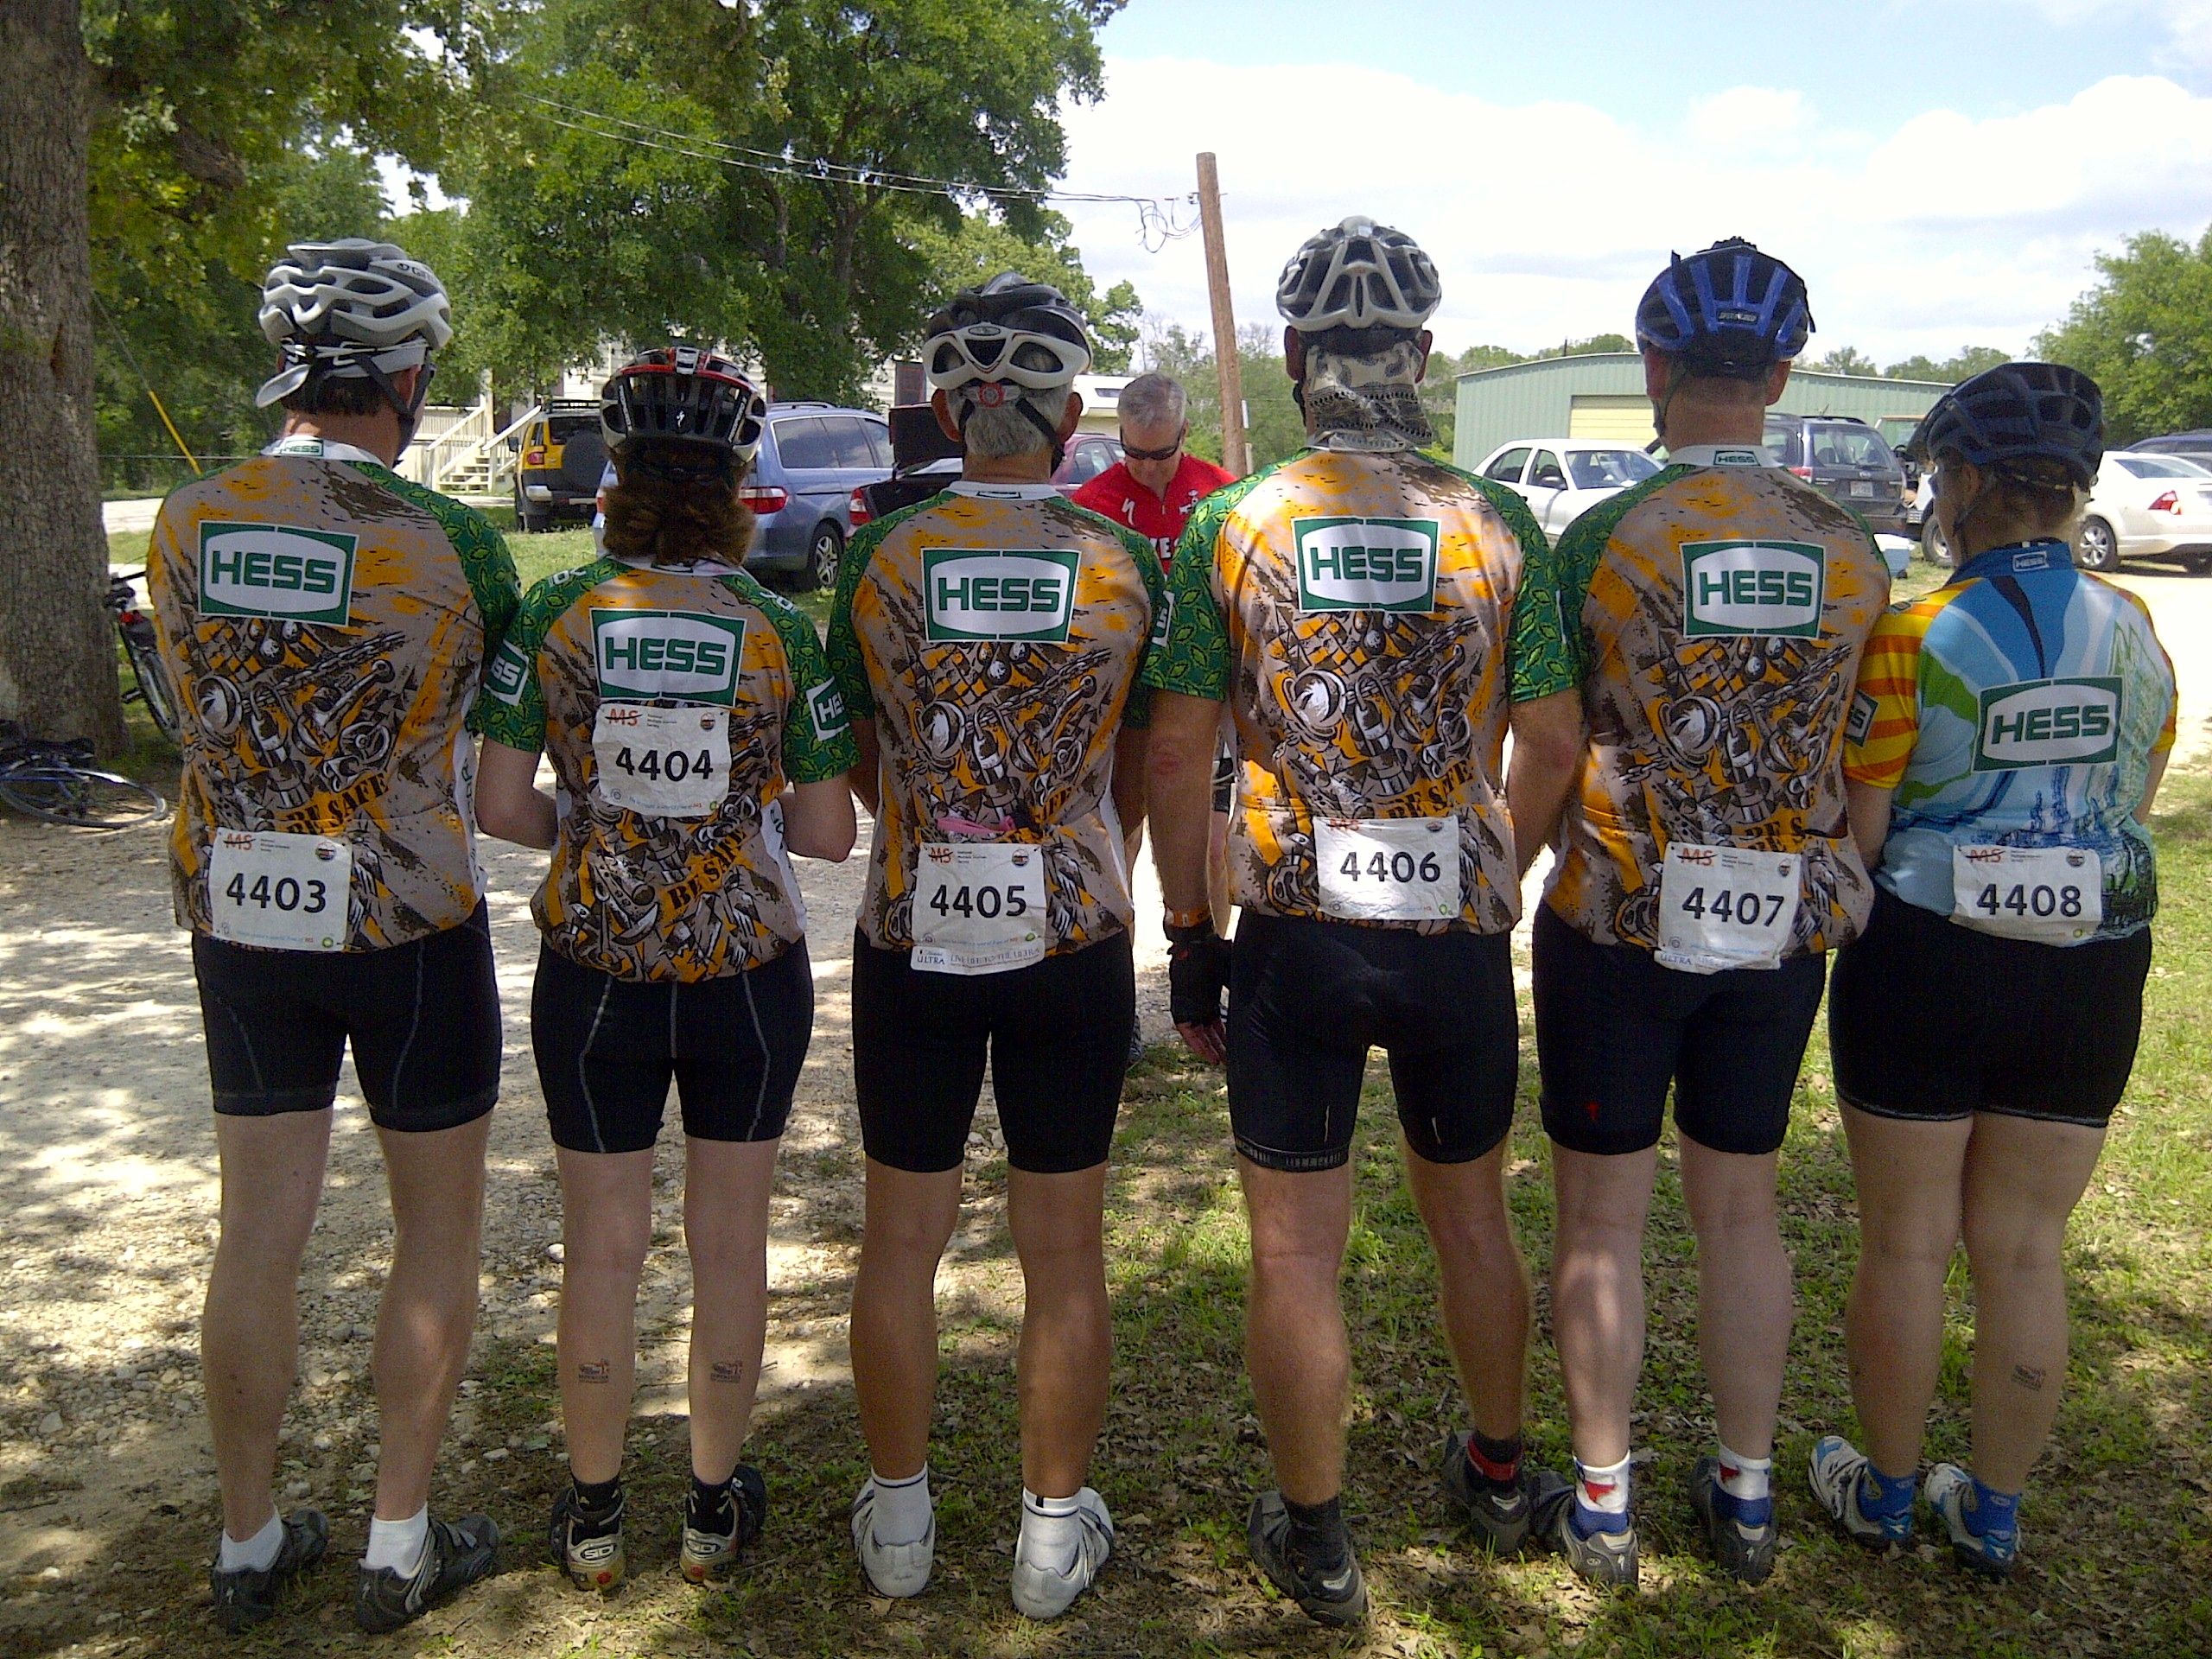
It is possible to ride a bicycle from Houston to Austin (See Austin Or Bust, 2011 BP MS150, 2013 BP MS150 Day One and 2013 BP MS150 Day Two).  But not there and back in a day, and certainly not together with my biker chick.  The hybrid bike made the trip in the trunk of the car.  Which was only possible because the car had fold-down rear seats.  The resulting space was deep enough to accommodate the bike as long as the front wheel was removed.  Most importantly the trunk lid closed without squashing anything.

C Class Boot

I mulled over the idea of getting a bike rack on that first trip to Austin with the Trek in the trunk.  There would be a custom road bike to transport to Houston in a month or so. I decided to get a Saris Bones 2.  It looked simple enough to attach and remove, and would fold down into a relatively compact form for storage.

Saris Bones 2 Bike Rack

This rack attaches to the rear of the car via a series of hooks and straps.  Once the rubber feet are properly positioned and the buckle straps tightened the rack sits very securely on the car.  Ratcheting straps lock bikes to the adjustable arms.  An unexpected bonus was that the buckle straps are long enough so that the ends can be used to tie down the wheels and handle bars to stop them spinning and swaying.

Saris Bones 2 on Car

Once I linked up with the West End Six Thirty cycling group the Saris Bones 2 got more and more use.  We had to drive to get to any sort of hill, and to get to the start of some of the organized rides we signed up for.

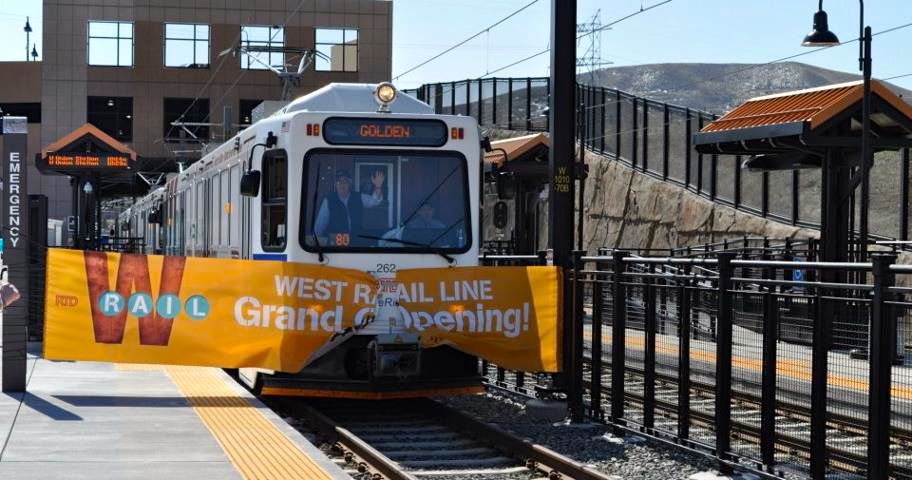
The Saris, and the car, came with us to the Netherlands.  The rack sat unused for a year.  All my rides started at the entrance of our apartment building.  Even the starting points of the first few organized events I did were within riding distance of home.  Then I did the Ronde van Vlaanderen with Eugene (see I’ll See Your JZC and Raise You an RvV!).  That involved a drive to Sint-Denijs-Westrem in Belgium.

The Saris came out of storage to carry our bikes.  As we drove south I noticed that I was the only one with a Saris or similar bike rack.  All the other cars had either a rack on the roof or a tow-hitch mounted rack on the back.  Complete with a turn signal and brake light bar and number plate.   It turned out that my bike rack was illegal because the bicycles obscured the car’s turn signals, brake lights and number plate.  I was also told not to worry too much about it.  This being the bicycle-crazy Netherlands, the police would likely turn a blind eye.  Which may have been the case as I got back to Den Haag without being stopped.  I didn’t test my luck any further.  I went back to putting my bike in the trunk.

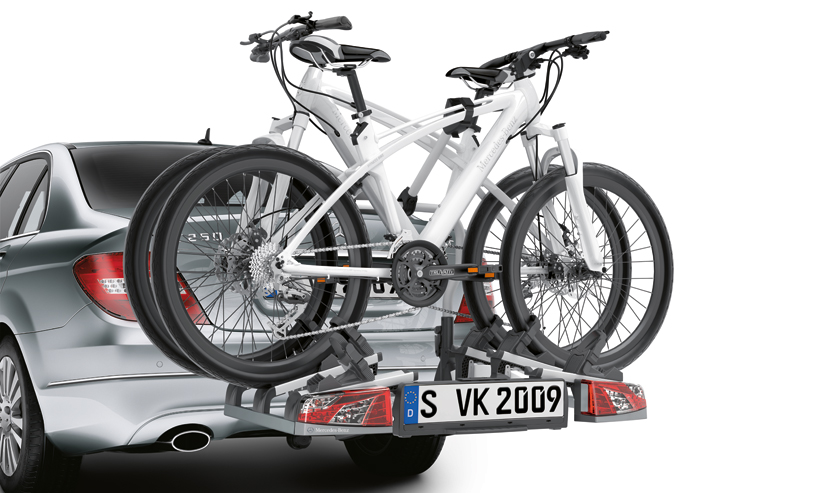
I did consider a tow hitch mounted rack like this one.  I had taken the car to the local dealership for a routine service.  They had a rack and light bar on sale for something like €200.  Which was a great price.  The catch was that our car didn’t have a tow hitch and ball mount.  The dealership was of course happy to install the required hardware.   I was not happy to pay the €1,500 for that to be done.  My bikes would continue to make do with being hauled around in the trunk.

C CLass Tow Hitch Bike Rack

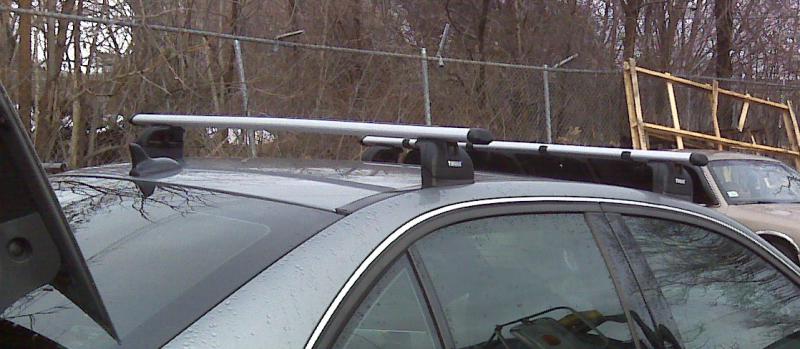
The following year I made a return trip to the Ronde van Vlaanderen, this time with Richard.  He had a Thule roof rack.  We decided his compact car might be a bit small for both of us and our stuff.  Which meant moving his roof rack onto my car.

A clever part of the Thule design is the huge number of fitting kits available.  The racks, load bars and feet are standard.  The fitting kits contain custom pads and brackets that fit the specific contours of a vehicle’s roof, or attach to an existing roof rail.  The standard feet attach to the brackets.

Thule feet

Naturally the fitting kit for Richard’s car didn’t fit my car.  A quick trip to Richard’s local Thule dealer solved that problem.  Thule makes fitting kits for vehicles from over eighty manufacturers.  A Thule 3049 Fixpoint Fit Kit was all I needed to attach Richard’s roof rack to my car.

I was so impressed with Richard’s Thule roof rack that I decided to get one.  That led to the “Het is niet mogelijk” moment that I retell whenever I can.  I went to a shop, which shall remain nameless to protect the guilty, that sells Thule products.  I told the salesperson what I wanted:  two Thule Outride 561 bike carriers, a pair of Thule 960 Wingbars, and four Thule Rapid System 753 feet.  He asked me what car I had, and consulted his computer.  A few seconds later he uttered that most-frustrating of Dutch phrases.  “That is not possible.”

“But it is,” I protested.  “I had that exact configuration on my car a few weeks ago.”

“Nee.  Het is niet mogelijk.”

There is no point arguing when faced with that phrase.  All you can do is admit defeat and move on to plan B.  In my case that was to go to the second Thule dealer on my list, A & P Verhuur Service, where it was possible to purchase what I wanted.

Thule 561 Outride with Bike

The roof rack and I made a few more road trips in the company of the Not Possibles cycling group (you can probably guess the origin of the group name).  The Thule system is easy to install and remove.  The feet and front fork attachment are lockable.  Bikes sit rock solidly  on the carriers, all the way up to the maximum rated driving speed of 130 kph / 80 mph.  The only downside is the wind noise.

The Saris and the Thule racks came with us to Kuala Lumpur.  The car stayed in the Netherlands with its new owner, together with the Thule Fit Kit.  The racks haven’t seen any use in Malaysia.  Even though I have to drive to rides in Kuala Lumpur.

My biker chick kept her car here while we were away.  I could have hung the Saris off the back of her car.  I see a few trunk-mounted racks around.  I also see too many rear-end collisions to be comfortable driving around with my bike between the rear of my car and the front of the car behind me.  So it was back to the bicycle in the trunk routine.  In the meantime I was on the lookout for a car for myself.

We live in an apartment building in Kuala Lumpur.  The apartment came with two indoor car park spots on an upper floor of the parking garage.  All very convenient, except that the headroom clearance on the ramps between floors is insufficient for bicycles on a roof rack.  That narrowed my choice of vehicle down to a hatchback with enough trunk space to fit a bicycle or two.

Which is why I drive a Perodua Myvi.  Among its most important attributes . . .

Myvi Boot Area Seats Folded

Plenty of room for bicycles.  I’ve transported two bikes with no problem.  I could pack in three or four.  This weekend I will find out if I can get the Ritchey Break-Away in the trunk without having to fold down the rear seats.

S&S Case

Where Are You Nyack?

Posted on

I was in Manhattan.  I had a bike.  Where to go?

google-knows-the-answer

The most popular ride from Manhattan Island is over the George Washington Bridge to Nyack and back.  About 70 km / 44 mi round trip from the bridge to Nyack.  Plus another 10 km / 6 mi or so from where  I was.  I looked at an online route map.  It seemed simple enough to get to the Manhattan Waterfront Greenway.  That would take me to the George Washington Bridge.  Once across the bridge it was due north to Nyack.  I thought there would be lots of cyclists whom I could follow.  This was after all the most popular ride from Manhattan Island.

Riding along the Greenway on a Saturday morning required constant vigilance.  It was a nice day, and the Greenway was clogged with pedestrians, joggers, inline skaters and tourists crossing over to heliports for joy rides over the city.  And of course with other cyclists.

Jersey Heliport

As expected I could see the George Washington Bridge up ahead, stretching across the East River.

Jersey George Washington Bridge

I didn’t expect to come across the Little Red Lighthouse under the bridge.

Jersey Bridge Lighthouse

I certainly didn’t expect to be 60 meters / 200 feet below the bridge.  Of course the climb to the bridge deck was worth it.  This is the view along the East River back towards Lower Manhattan.  The border between New York and New Jersey runs down the middle of the East River.

Jersey GWB View

There weren’t many cyclists to follow across the bridge and down into New Jersey.  I had left it too late in the morning to get started.  There was one cyclist ahead of me so I followed him.  After ten minutes I realised he wasn’t going to Nyack.  The route described online follows the river shoreline.  You can see from the route I took that I was well west of the river as I rode north.

New Jersey Route

I had lost the rider who had been ahead of me.  I saw no road signs for Nyack.  Which was okay.  The sun was shining.  The roads were good.  The towns I rolled through were pretty.  Englewood, Tenafly, Cresskill, Demarest.  There was a lot of German steel on the roads with me.  Audi, BMW, Mercedes Benz, Porsche.  I was clearly in a wealthier part of the world.  Near the Knickerbocker Country Club I came upon little reminder of The Netherlands.

Jersey Tulips

The views continued to be lovely.  This is on the Tenakill Brook in Demarest.

Jersey Color 1

After 40 km / 25 mi I was ready for a coffee and something to eat.  As pretty as the ride was, it was time to forget about Nyack and its fabled cyclists stop, the Runcible Spoon Bakery.  I had been alternately behind and ahead of  a pair of cyclists for about fifteen minutes.  They rolled past me again as I stopped to take this picture where the road carries us back into New York.

Jersey New York State Line

I hoped that they were in need of coffee too, and knew a place where we could get some.  4 km / 2.5 mi down the road we came to Piermont, and the two gentlemen in front of me pulled up at Bunbury’s Coffee Shop.  Perfect!

Jersey Bunbury Cafe

Having tailed them for so long it was the least I could do to introduce myself.  We sat together as we drank our coffees and ate our cakes.  I had the chocolate zucchini almond bread.  Which was possibly better than Sharif’s roti canai.

Jersey Bunbury Cafe Eats

It turned out that I had chosen some interesting people to follow.  One was the mayor of Englewood, who was on his first bike ride in years.  He was being pulled along by a friend who was clearly a regular cyclist.  And who knew the President of Hotvelociti Cycling Apparel, who joined our table.  I don’t often have conversations about a USD180 million light rail project, or about the 400% increase in the cost of manufacturing clothing in China, during my coffee stops.

Their advice was to skip The Runcible Spoon Bakery, which suffers from its fame by always being very crowded.  And to follow US Route 9W back to the George Washington Bridge.  What they didn’t tell me was that there is 160 meters / 525 feet of climbing in the 6 km / 3.7 mi.  It is a good thing that it was a big slice of chocolate zucchini almond bread!

I hooked up with another rider just as I got to the bridge.  He used to live in Austin, so we had something to talk about as he guided me along an alternate route to the Greenway.  I am not sure which would have been worse.  All the other people on the Greenway, or the taxis, buses and trucks along Broadway and 7th Avenue.  Riding a bike through Times Square was an experience perhaps not to be repeated.

I didn’t get to Nyack, but it was a very nice ride.  Thank you Google.

Let’s Get Ready to Rumble Part Two

Posted on

“Hill Chasers” was the second installment of Van’s Rumble Cycle Challenge.  We met at the VUBC shop at 7.30am to sign waiver forms and size up the competition.  After a safety briefing we headed off for our first look at the track.

Rumble Hill Chasers Briefing

Amril and his band of organisers had found a closed stretch of freshly-paved road not far from the VUBC shop.  All we had to do was clear away some loose stones and other rubble.  It wasn’t long before we could lay down a finish line and start racing.

Rumble Hill Chasers Course 2

We were in teams of two or three riders.  Each team’s result was determined by the time of the second rider across the finish line.  We had so much fun charging up the hill that we decided to ride the hill twice and take the average time to determine the winning team.

Rumble Hill Chasers at the Finish Line

Here we all are after our two runs.

Photo courtesy of Van's Urban Bicycle Co.

Photo courtesy of Van’s Urban Bicycle Co.

Then it was back to the VUBC shop where Ray worked out the final results.

Rumble Hill Chasers Results Calculation

Leong and his brother were a team of two, but they had enough firepower between the two of them to win overall honours.  On a mountain bike and a foldie no less.  Here are the happy winners with the event organisers:  Ray, YC, Vanessa and Amril on the right.

Photo courtesy on Van's Urban Bicycle Co.

Photo courtesy on Van’s Urban Bicycle Co.

There was also a prize for the fastest individual.  That went to a roadie.

Photo courtesy on Van's Urban Bicycle Co.

Photo courtesy on Van’s Urban Bicycle Co.

We are all now looking forward Rumble Cycle Challenge Part Three.  The Scavenger Hunt on 16th June.

Fix It Sticks

Posted on

These arrived in the post while I was riding my Ritchey Break-Away around America.

DSC02300

In February I saw an online write-up about a new design for a bicycle multitool.  The design was light, compact at 10 cm / 4 in long, and the sticks fit together in any combination to form a T-handle for your chosen bit.  The article pointed readers to a Kickstarter campaign to raise the USD18,000 that would allow Brian Davis to put his invention into production.

I owned enough multitools already.  But I am a sucker for gadgets and gizmos.  I pledged USD45.  If the fund-raising campaign was successful I would get 2 sets (4 sticks) containing a metric hex #2, #2.5 #3, #4, #5, #6, a #1 phillips and a 5mm flathead screwdriver.

963 people backed Brian to the tune of USD45,201.  So my Fix It Sticks arrived in April as promised.

A pair of these sticks has replaced the Lezyne RAP 6 in my bike tool kit.  I can generate more torque with the T-handle design of the Fix It Sticks than I can with the offset Allen keys of the RAP 6.  I also have more control over the bit because the Fix It Sticks lock together.  The Allen keys in the RAP 6 are prone to moving around because of the folding design of the tool.

You are not limited to the bits listed above.  There is a large range of other bits available on the Fix It Sticks website.  You can choose from 10 Torx bits,  3 square drive / Robertson bits, 3 Phillips bits, 3 slotted / flathead bits, 7 metric hex bits, 9 American hex bits, and a 1/4 inch socket drive.

These could become my favorite on-bike tools.  If I bought a stick with an 8mm hex bit I would have all I need to disassemble and assemble my Ritchey Break-Away too.

Oh Happy Day!

Posted on

What started in 1977 with 250 riders is today America’s largest cycling event with 32,000 riders.

TD 5 Boro Bike Tour logo

I had a taste of what was to come when I went to the Bike Expo New York at Pier 36 to pick up my Tour packet and rider vest.  I went on Friday morning, assuming that I would beat the crowds later in the day and on Saturday.  Fail!

TD 5 Boro Bike tour 2013 Bike Expo

Fortunately the queue started moving ten minutes after  I joined it.  Once inside the Expo building we split by registration number and it didn’t take long to get through the identification check and to collect my packet.  I wandered around the exhibitor stands, determined to keep my cash and credit card in my wallet.  I succeeded, except for pulling out $5 for a sticker in support of a benefit fund for the victims of the Boston Marathon bombing.

TD 5 Boro Bike tour 2013 I Ride For Boston

I spent a bit more for a present for guess who?

TD 5 Boro Bike tour 2013 Biker Chick T

I didn’t bother to pick up most of the swag on offer.  Key chains, can cooler sleeves, pens, bags, that sort of thing.  I did accept edibles though.

TD 5 Boro Bike tour 2013 Swag

By a stroke of good fortune I was allocated the earliest of the three staggered start times.  7.45am.  The other start times were 8.30am and 9.15am.  I thought it best to try and get toward the front of the 10,000 or so other riders who had the same start time as I did.  So I got to the start at about 6.30 am.  There weren’t many people ahead of me nor behind me.

TD 5 Boro Bike tour 2013 630am

An hour later and I had been joined by just a few more riders.

TD 5 Boro Bike tour 2013 730am

It was an unseasonably cold and windy Sunday morning.  New Yorkers were literally hunkered down to get out of the wind.  You can’t tell from the photograph but there were goose bumps under those tattoos.

TD 5 Boro Bike Tour 2013 Cold Start

Underdressed yet again, I resorted to ducking into a porta-potty to get shelter.

Fortunately for me the ride started on time.  Unfortunately for me the first 6 km / 4 mi of the ride were through the concrete, steel and glass canyon that is 6th Avenue.  Where no sunlight reaches the street at that hour of the morning.  I shivered and shook, wondering why I hadn’t thought of waiting in the warmth of the apartment building I was staying in and joining the ride as it rolled past the front door.  It was not until I got to the open terrain of Central Park that I could aim for patches of sunshine, looking for any warmth at all.

TD 5 Boro Bike Tour Route

By the time I got to Harlem in northern Manhattan I was lukewarm.  Warm enough at least to get into the upbeat mood generated by the gospel choir standing on Adam Clayton Powell Jr. Boulevard, belting out a rousing rendition of “Oh Happy Day”.

The ride route crosses five major bridges among the islands of New York City.  The Madison Avenue Bridge was the first.  It connects the island of Manhattan to the Bronx, which is the only bit of mainland America in New York City.

TD 5 Boro Bike Tour Madison Ave Bridge

We crossed two more historic bridges; the Third Avenue Bridge, which opened in 1898, and the Queensboro Bridge, which opened in 1909, before getting to the mandatory stop at Astoria Park.

So as not to paralyze road traffic in New York City for the entire day, the city conducted rolling street closures.  I was among the group that got to Astoria Park before Shore Boulevard and 14th Street were closed to traffic.  The park is at the 18 km / 11 mi point of the ride.  As good a point as any to eat something.  The bridge is the Robert F. Kennedy, one of the New York City bridges that we did not ride across.

TD 5 Boro Bike tour 2013 Astoria Park Bananas

As we left Astoria Park we had the Hell Gate Bridge over the East river and behind us.  The gentleman to my right was on an Elliptigo.  I saw one during the BP MS150 ride too.  Looks like hard work!

TD 5 Boro Bike Tour 2013

The Pulaski Bridge carried us over Newton Creek between Queens and Brooklyn.  Brooklyn is the fourth of the five New York City boroughs that the ride took us through.  The Brooklyn leg generally followed the East River, past the Brooklyn Bridge and onto the Gowanus Expressway where the Hudson River empties into the Upper Bay.

Talk about saving the best for last.  To get from Brooklyn to the fifth borough of Staten Island we had to cross the Verrazano-Narrows Bridge.  When it opened in 1964 this was the longest suspension bridge in the world.  Just over 2 km / 1.3 mi from end to end.  The only other people allowed to cross this bridge without using a motor vehicle are participants in the New York City Marathon.  The crossing was spectacular, even on the lower deck.

Photo courtesy of J. Mazzolaa

Photo courtesy of J. Mazzolaa

The Staten Island end of the Verrazano-Narrows Bridge is at Fort Wadsworth.  Where the finish Festival was.  I had managed to get to the Festival ahead of the majority of the other riders in my start group.  So there weren’t many others around us as we took in the sights at the finish and waited to be released to ride the final 5 km / 3 mi to the St. George Terminal of the Staten Island Ferry.

TD 5 Boro Bike tour 2013 Finish Festival Stilt Walkers

Many of the cyclists already at Fort Wadsworth were veterans of this event.  One gentleman was riding it for the eleventh time.  It became clear from talking to the experienced ones that getting to the finish quickly was key to getting back to Manhattan at a reasonable time.  The waiting time for the ferry increases geometrically as more and more riders get to the Festival.  It could be 4pm or later before the riders at the back of the group got on a ferry.  So I was happy to be on a ferry at 11.30am.  My only regret was that I chose to sit on the wrong side of the boat to see the Statue of Liberty as we passed Liberty Island.

TD 5 Boro Bike tour 2013 Staten Island Ferry

I had a great time on what has become an iconic ride in America.  It would have been just as appropriate if that gospel choir in Harlem had been singing “Oh, What a Beautiful Morning.”

Solo Saturday

Posted on

My regular Saturday riding buddies had other things to do yesterday morning.  So I rolled out of the D’Bayu car park in Bukit Jelutong on my own just as it was getting light.  There wasn’t a lot of color in the sky as the sun came up, despite all the clouds.

Sunrise

I got to the motorcycle lane alongside the Guthrie Corridor Expressway before 7am.  Not surprisingly the motorcycle lane was very quiet.  Riding alone always gives me the opportunity to notice things that I miss while on group rides.

Roadside Color

While I was the only cyclist on the motorcycle lane that early in the morning, this ride is a popular one.  The lane is well surfaced and relatively wide.  Most of the tunnels under the on and off ramps are well-lit, although there are a couple that provide an unnecessary  moment of concern as you pass from bright sunlight into darkness.  Especially if the tunnel comes immediately after a sharp turn.

Into a Tunnel

I took the slightly longer route to Kampung Sri Kundang.  Instead of taking the Jalan Kuala Selangor exit I rode further down the Guthrie Corridor Expressway to the KL – Kuala Selangor Highway interchange.  This option means riding about 3 km / 2 mi along the KL – Kuala Selangor Expressway.  That expressway, also known as the LATAR Expressway, does not have a motorcycle lane, but the  road shoulder is wide enough to accommodate cyclists.

KL _ Kuala Selangor Highway

I left the highway at Kundang Lakes Golf Club.

Kundang Lakes GC

From there it is a short 3 km / 2 mi to Sharif Roti Canai.  Breakfast there is the reason for riding this route.

Sharif Roti Canai

2013 BP MS150 Day Two

Posted on

Riders have the choice of three official starting points for Day One:  Tully Stadium in Houston, Rhodes Stadium in Katy, and Waller Stadium in Waller.  Who knows how many unofficial starting points there are.  The Omni Houston at Westside was where we started.  The advantage of multiple starting points is that all 13,000 riders aren’t crowded into one location.  Which is the case at the Day Two start at La Grange.

If you join the pack toward the rear it can take forty five minutes or more to cross the start line once riders are released from La Grange.  It was immediately clear that we had left it a bit late to wheel our bikes toward the start line.  Dane reckoned he had never waited behind as many people for a Day Two start before.

BP MS150 2013 Waiting to leave La Grange Johan, MOT, Skip and Dane

Photo courtesy of Barbara Luksch

Our collective relief that is was not as cold as it had been twenty four hours earlier faded as the stationary wait stretched toward the hour mark.  Our core temperatures steadily dropped  along with the ambient temperature as it cooled to 10°C / 50° F just before dawn.  I may have been in the pink, but I was turning blue.

Photo courtesy of Barbara Luksch

Photo courtesy of Barbara Luksch

By the time we rolled over the start line I was shivering so badly that my bike was wobbling around.  Once again I rued my choice of bike clothing, and was desperate for the sun to come up.  This gentleman never fails to lift the spirits.  He occupies the same spot every year, about 12 km / 7.5 mi from La Grange.  It is worth the time to stop to listen to him play for a while.  And to soak up some sunshine!

BP MS150 2013 Bagpiper

We had elected to do the Bechtel Challenge Route through Buescher State Park and Bastrop State Park.  The parks had been devastated by a wildfire that swept through Bastrop County in September and October 2011.  The fire damage was so significant that the Challenge route was closed in 2012.  I was interested to see how different the park was compared to what I rode through in 2011.  Barbara was excited and nervous about riding through the park for the first time.  Tom, Skip and I did our best to convince her that she would have no problems with the hills in the park.

Photo courtesy of Barbara Luksch

Photo courtesy of Barbara Luksch

Naturally there is a huge amount of damage to the loblolly pines and other trees and vegetation in the parks.  These scars will remain for years to come.

BP MS150 2013 Bastrop State Park Fire Damage

In return the fire has created some beautiful vistas and opened up the visibility of the terrain. Tom and I commented that we weren’t able to see the topography the last time we rode through Bastrop State Park.  At one point we found ourselves on a ridge overlooking a view that we didn’t even know existed.  The park has a very different, and to my mind a better look to it.  I enjoyed being able to see the road ahead winding through the trees,

BP MS150 2013 Bastrop State Park Road

We made our traditional lunch stop at Whataburger in Bastrop.  Barbara was so excited at having ridden the park that she announced the fact to all at the restaurant.  She was given a flower to commemorate her achievement.

BP MS150 2013 Barbara Flower

The plan after the parks and Whataburger was to meet up at The Moose Lodge so we could ride the final 5km / 3mi as a group.  As it turned out we regrouped at the two rest stops before Austin as well.  There is always lots to see at the rest stops – besides the lines for the toilets..

BP MS150 2013 Mohawk

We took a “Non-Hess members of Team Hess” photo at the last official rest stop before Austin.

Photo courtesy of Barbara Luksch

Photo courtesy of Barbara Luksch

We met up at The Moose Lodge as planned.  We missed The King though.

BP MS150 2013 The Moose Elvis

Everyone made it safely to the finish in Austin.  Our group suffered no flat tires or falls over the two days and  280 km / 174 mi.  Everyone thoroughly enjoyed the ride.  It was another brilliant BP MS150.  I wouldn’t want to say that this was my last.  After all I have a travel bike now.

BP MS150 2013 Glory Shot 02

The National MS Society is still accepting donations linked to this ride.  The society is depending upon your generosity to raise as much as possible to put toward the search for a cure for multiple sclerosis.  Please click on the link below to make a donation to this worthy cause.

Donate to Multiple Sclerosis Research and Treatment