Ride regularly with a large enough group and you can count on seeing something new on a weekly basis. A pristine pair of shoes, a shiny helmet, sometimes a new bike (I’m looking at you Chris).
Lately it has been new wheels. First Mark showed up with a pair of 50mm deep Sonic carbon wheels. Admittedly a borrowed pair, but still. Then Marco bought a pair of 38mm Sonic carbon wheels. A week or two later Shahfiq rolled up on a set of carbon Sonics. Ken was next. It seems that the group has managed to buy up the entire stock of Sonic carbon clinchers in Kuala Lumpur.
Our conversations became centered on the difference that those Sonics made. Rides became “effortless.” “Sonic boom” entered our shared vocabulary as a way to describe the impact the new wheels had on average speeds.
I have only ever ridden on Easton EA90 SLX wheels. My steel Alchemy came with those wheels. I like them. So I stuck with them for my other bikes.
The appearance of all those new wheel sets on my friends’ bikes made me think about getting some new wheels too. I wanted to stay with alloy wheels. I’ve seen a number of broken carbon wheels but have yet to see a broken alloy wheel. I was keen to get something that was more aerodynamic that the Eastons. And I was sold on the advantages of running 25 mm wide tires on a wider rim rather than the 23 mm tires I was using with the Eastons.
Lots of online product reviews and some e-mail conversations with Boyd Johnson later, I placed an order for a set of Boyd Vitesse alloy clinchers. The Vitesse wheels met the requirements I was interested in. Additionally they are hand-built, and come at a reasonable price. I ordered the version with 24 spokes on the front and 28 spokes on the rear. The standard spoke count of 20 front / 24 rear is recommended for riders below 81 kg / 180 lb. I hover right around 81 kg, so I took Boyd Johnson’s advice to go with the more durable higher spoke count.
On the day I placed my order, Nicole Johnson confirmed that the order had shipped, and gave me a shipment tracking number. Greenville, North Carolina, the home of Boyd Cycling, is 15,800 km / 9,800 mi from Kuala Lumpur. So I was a bit nervous about how well my wheels would stand up to the trip. The United States Postal Service did a good job. The carton arrived in very good shape. Just a crease on one corner to show for the journey from Greenville to Miami, Florida and onward to Kuala Lumpur.
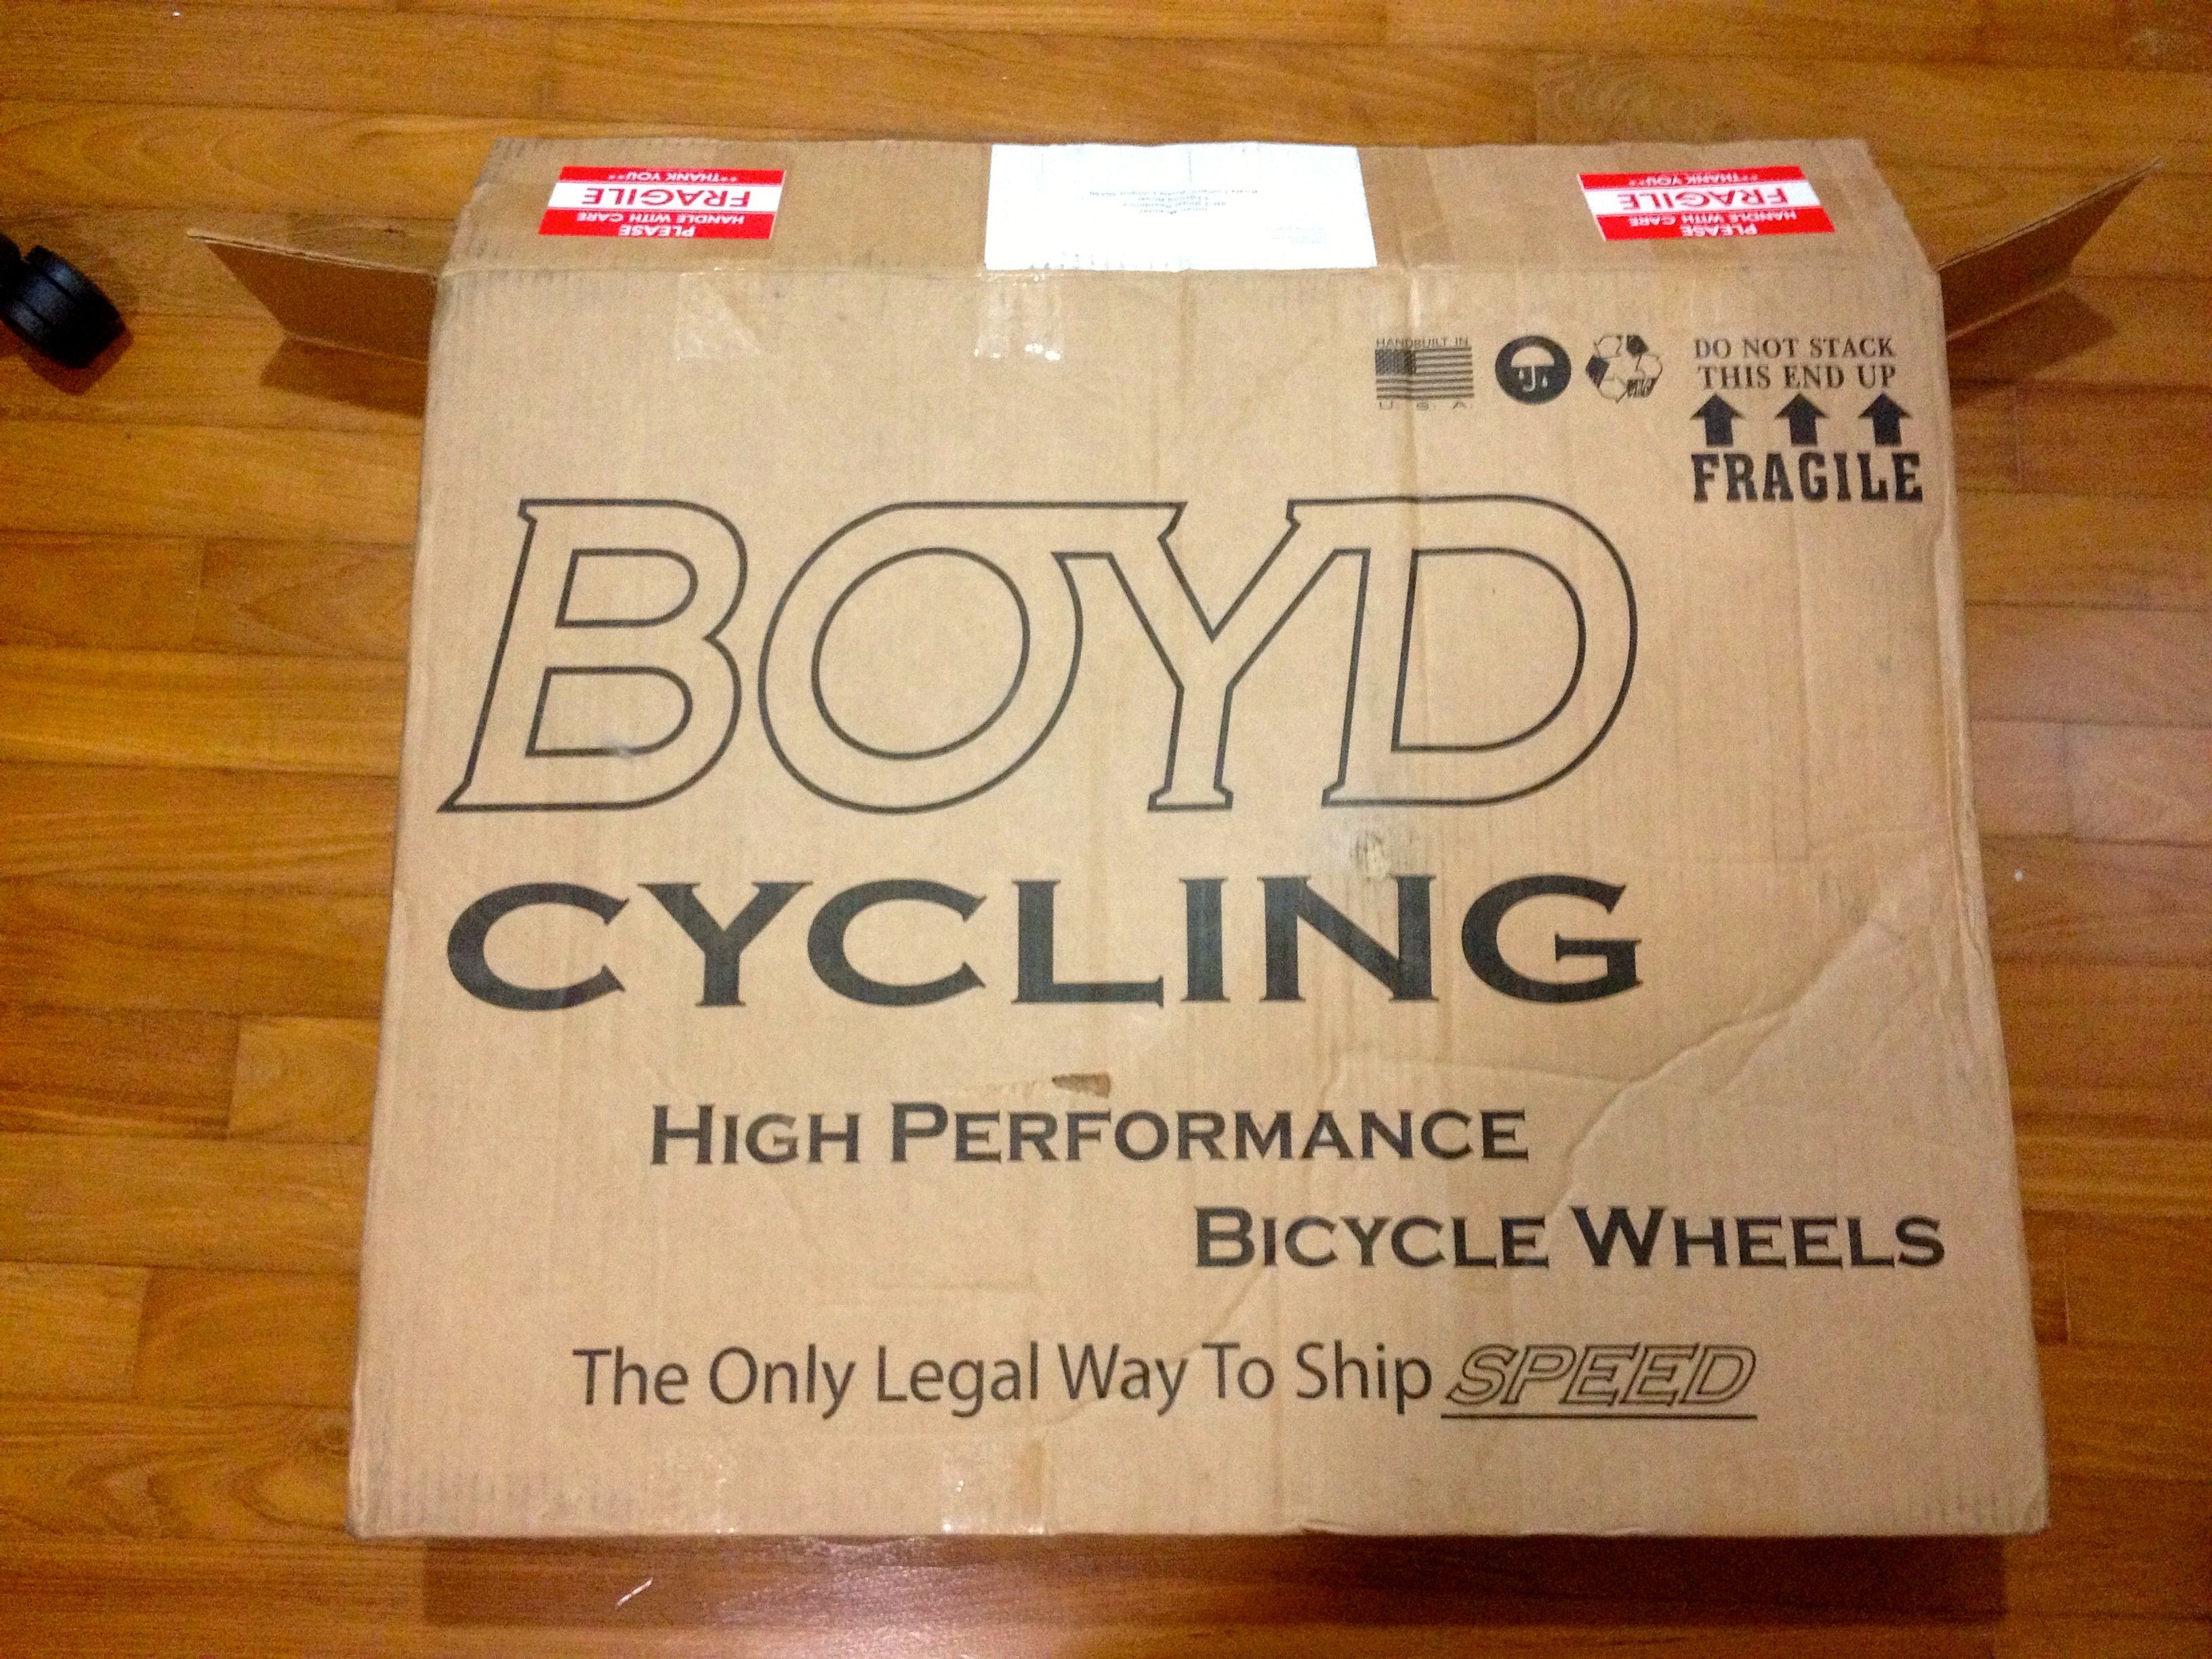
The contents were safely cradled within braces inside the carton. The wheels arrived undamaged and as true as the day they left the Boyd facility.

Photograph courtesy of Boyd Cycling
I tried the Vitesse wheels out with new 700 x 23 Michelin Pro4 Service Course tires on a ride to the Chamang waterfall. The wheels rolled smoothly and silently (more to come on the sound of the freewheel). There were no creaks or pings from the spokes. One sign of a well-trued, well-tensioned and well-stress relieved wheel set.
These wheels felt stiffer and seemed to hold their speed better than my Eastons. However I needed more than 75 km / 47 mi on the Boyds before I could form a definitive view on stiffness and speed.
What I can say is that I under-inflated the Pro4 tires. The 23 mm wide rim meant that the tires have a lower profile than they do on the narrower Easton rims. So they are even more prone to pinch flats if under-inflated. I had two pinch flats on my maiden ride on the Vitesse wheels.
The next outing on the Boyd Vitesse wheels was on the Samila Century. I wanted to try the wheels with a wider tire. I had a pair of rarely-used 700 x 25 Bontrager Race All Weather tires that I bought in 2011 for a ride on the cobbles of Flanders.
The wire-beaded Bontragers aren’t the lightest tires at 400 grams each, but they were the only 25 mm tires I had. As it turned out they were a good tire to have for a very very wet Samila Century. The wheels felt just as stiff, and were just as silent. The ride quality on the 25 mm tires was much improved over that on the 23 mm Pro4s. There was a lot less harsh road surface feedback with the wider tires.
I am tempted to say that it took less effort to get the Boyd Vitesse wheels up to speed, and then to hold that speed. I did after all get up to and exceed 60 kph / 37 mph for 8 km / 5 mi or so, albeit drafting behind a lorry. It may be just wishful thinking, but these wheels did feel ‘faster’ that my Eastons over the 145 km / 90 mi course.
Since the Samila Century I have taken delivery of a new pair of tires. My wheels are now shod with 700 x 25 Michelin Pro Optimum tires. I rode the 74 km / 46 mi Shimano Challenge on the Pro Optimums. These Michelins are considerably lighter than the Bontragers, at 215 grams on the front and 240 grams on the rear.
“Effortless” may be pushing it, but the Boyd Vitesse wheels do seem to take less effort while climbing. They continue to impress me with their stiffness. Somewhat surprisingly for wheels that are 28 mm deep, they feel less twitchy at speed than the 25 mm deep Easton EA90 SLX wheels do.
Now about the sound of the freewheel. Some reviewers feel that the Boyd freewheel is too loud. The 2013 Boyd hubs have four oversized pawls, versus three pawls in my Easton hubs. Perhaps that is why the Boyd freewheel is louder than the Easton freewheel. Not excessively so in my view. Experience with my Easton hubs tells me that putting some grease in the hub will quieten it if necessary. I will leave my Boyd hub alone. I like the sound it makes.

Photograph courtesy of Boyd Cycling
I also like the look of these wheels. The black Sapim CX Ray spokes make a nice change from silver spokes. To my eye the single-color logos are an understated touch.
Rear.

Front.
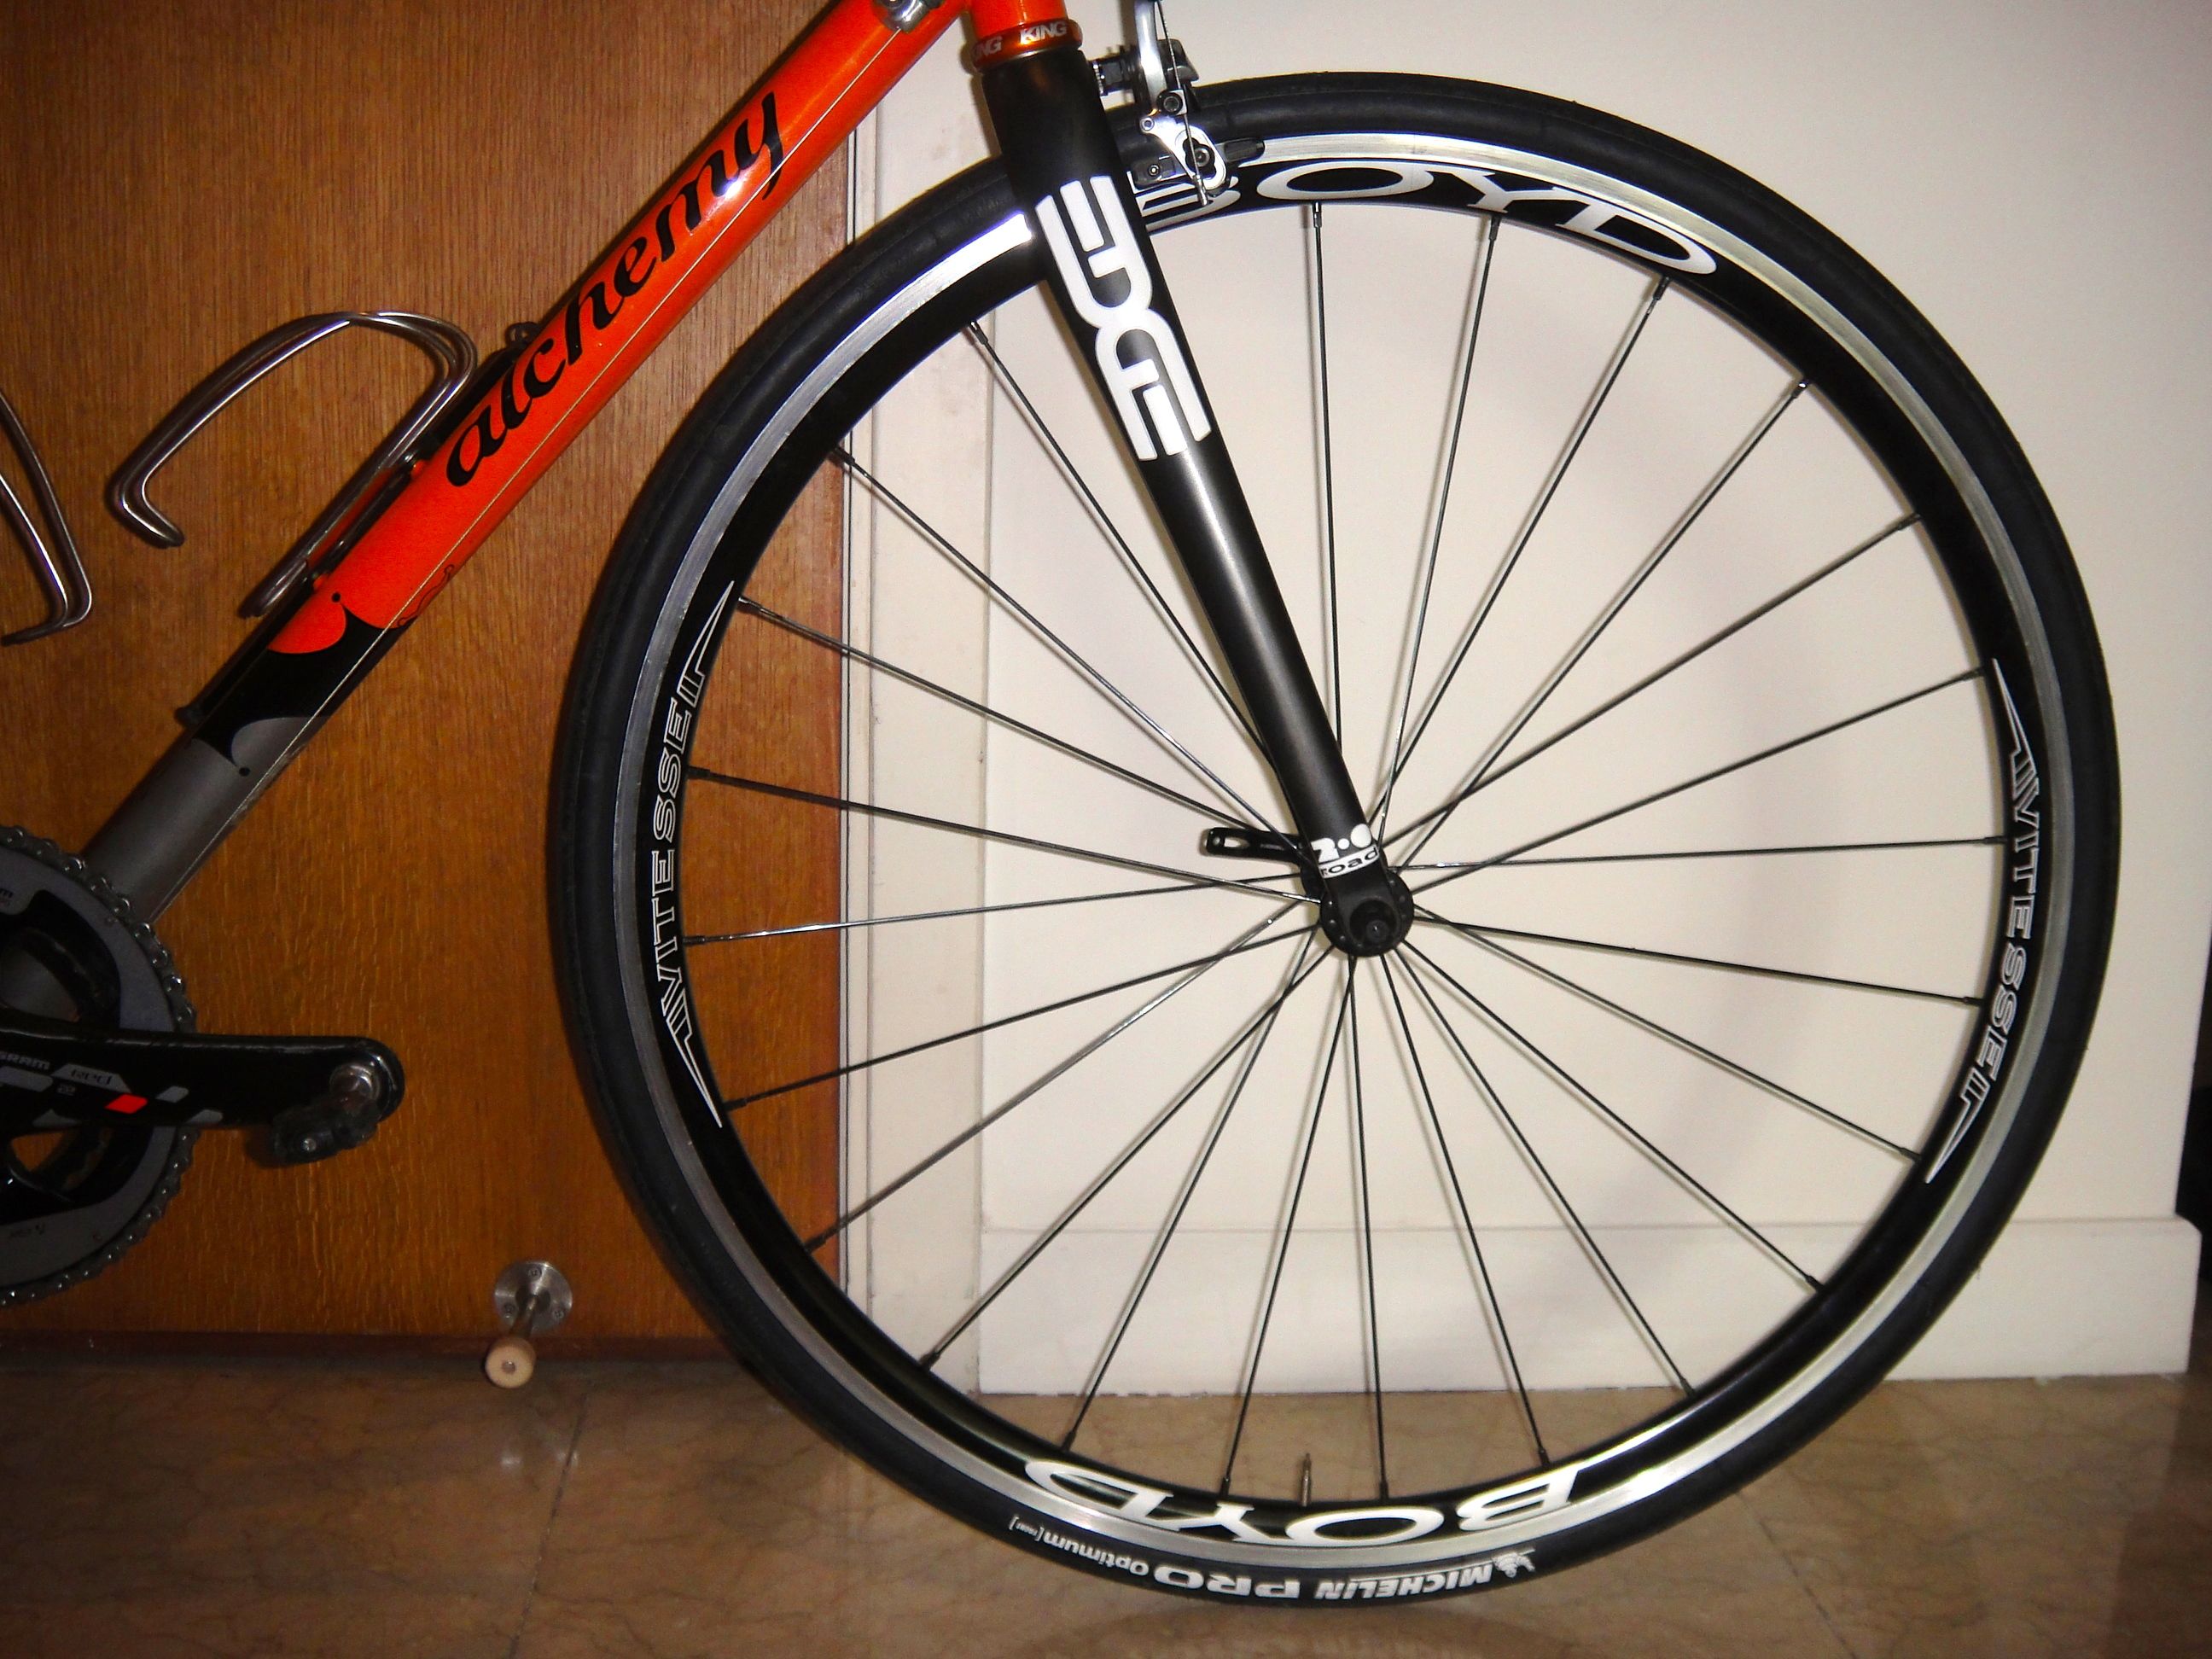
The full view.

I give the Boyd Vitesse alloy clincher wheels a “Thumbs Up” rating. My customer experience with Boyd Cycling was outstanding. I would buy from Boyd Cycling again, and I would certainly recommend Boyd Cycling to my friends.
** Thank you Paolo Nutini for the slightly amended lyric to “New Shoes.”