Category Archives: Gear and Tools

Does a Base Layer Really Work in Tropical Weather?

Hot Weather Banner

Illustration courtesy of someecards.com

The Minister of Science, Technology and Innovation issued a media statement on 8th January 2016, in which he said that peninsular Malaysia will have hot and dry weather throughout the first quarter of the year.  A strong El Nino phenomenon is to blame.  We may see a rise in temperature of between 0.5 degrees Celsius and 2.0 degrees Celsius compared to the norm for this time of the year.

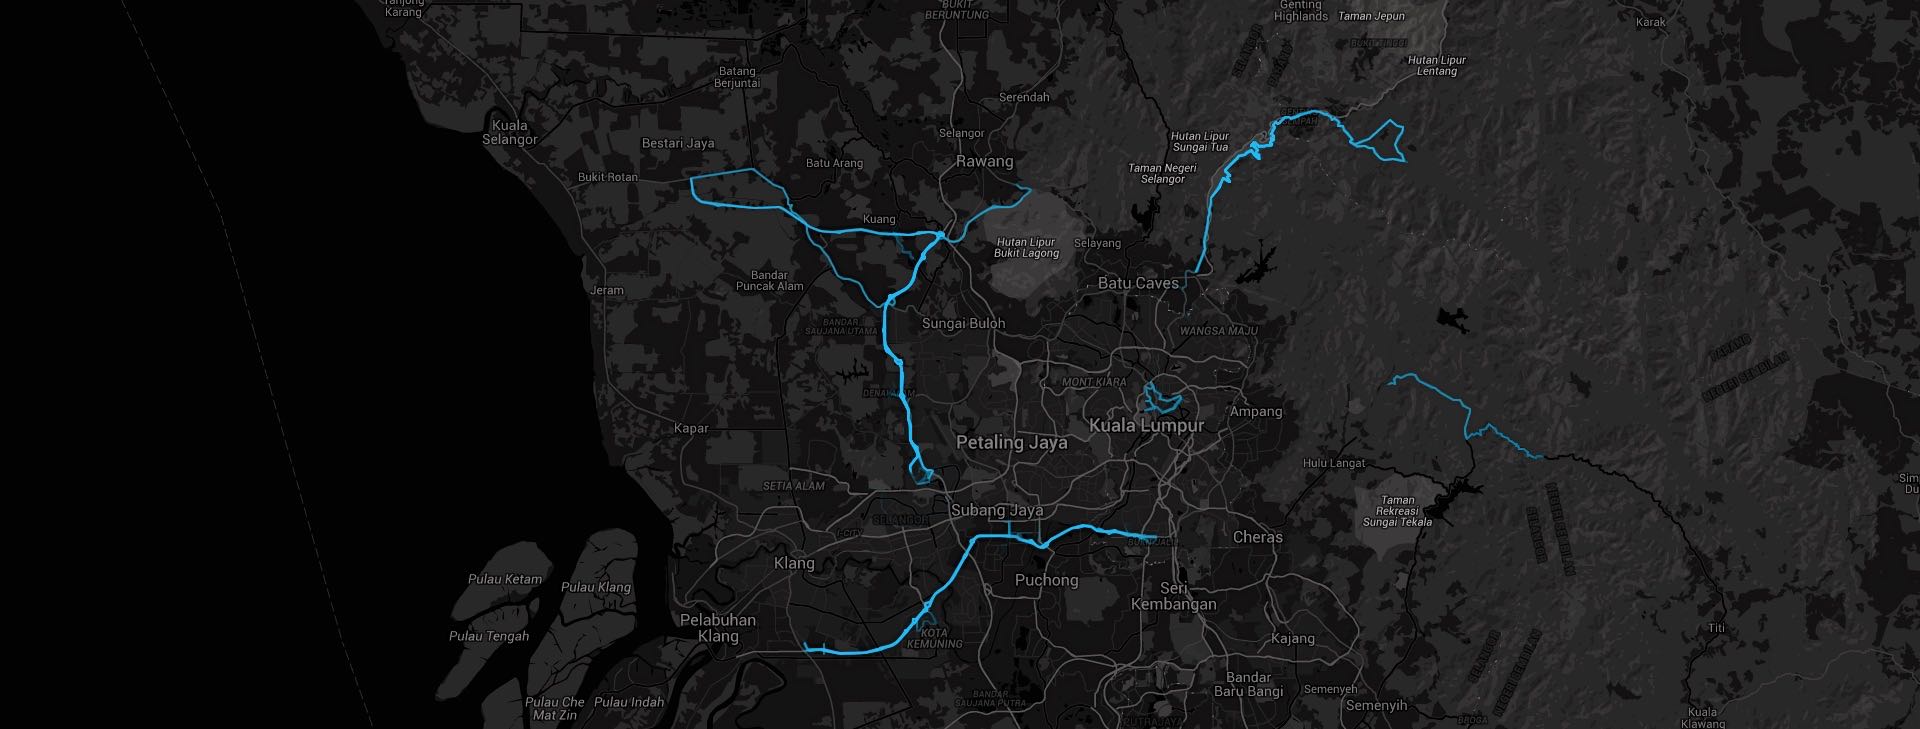
So far the recorded high temperatures in Kuala Lumpur support this.

Weather forecast KL

Data courtesy of http://www.weather.com

Hooray!  It is going to be hotter than normal for the next few months.

Staying cool in Malaysia’s humid tropical heat has been an ongoing challenge for me.  In previous posts I have chronicled the various things I have tried to stay cool while out on my bike.

The latest tool in my bag of tricks is a base layer.  The opinions on the efficacy of wearing a base layer in hot weather are mixed, to say the least.  Some riders think it is crazy to wear an additional layer under a jersey out in the heat.  Others swear by the ability of a good base layer to make a hot weather ride more comfortable.

I was persuaded by articles such as this one, titled “Why Wear A Base Layer In The Heat?“, which appeared in Cycling Tips.

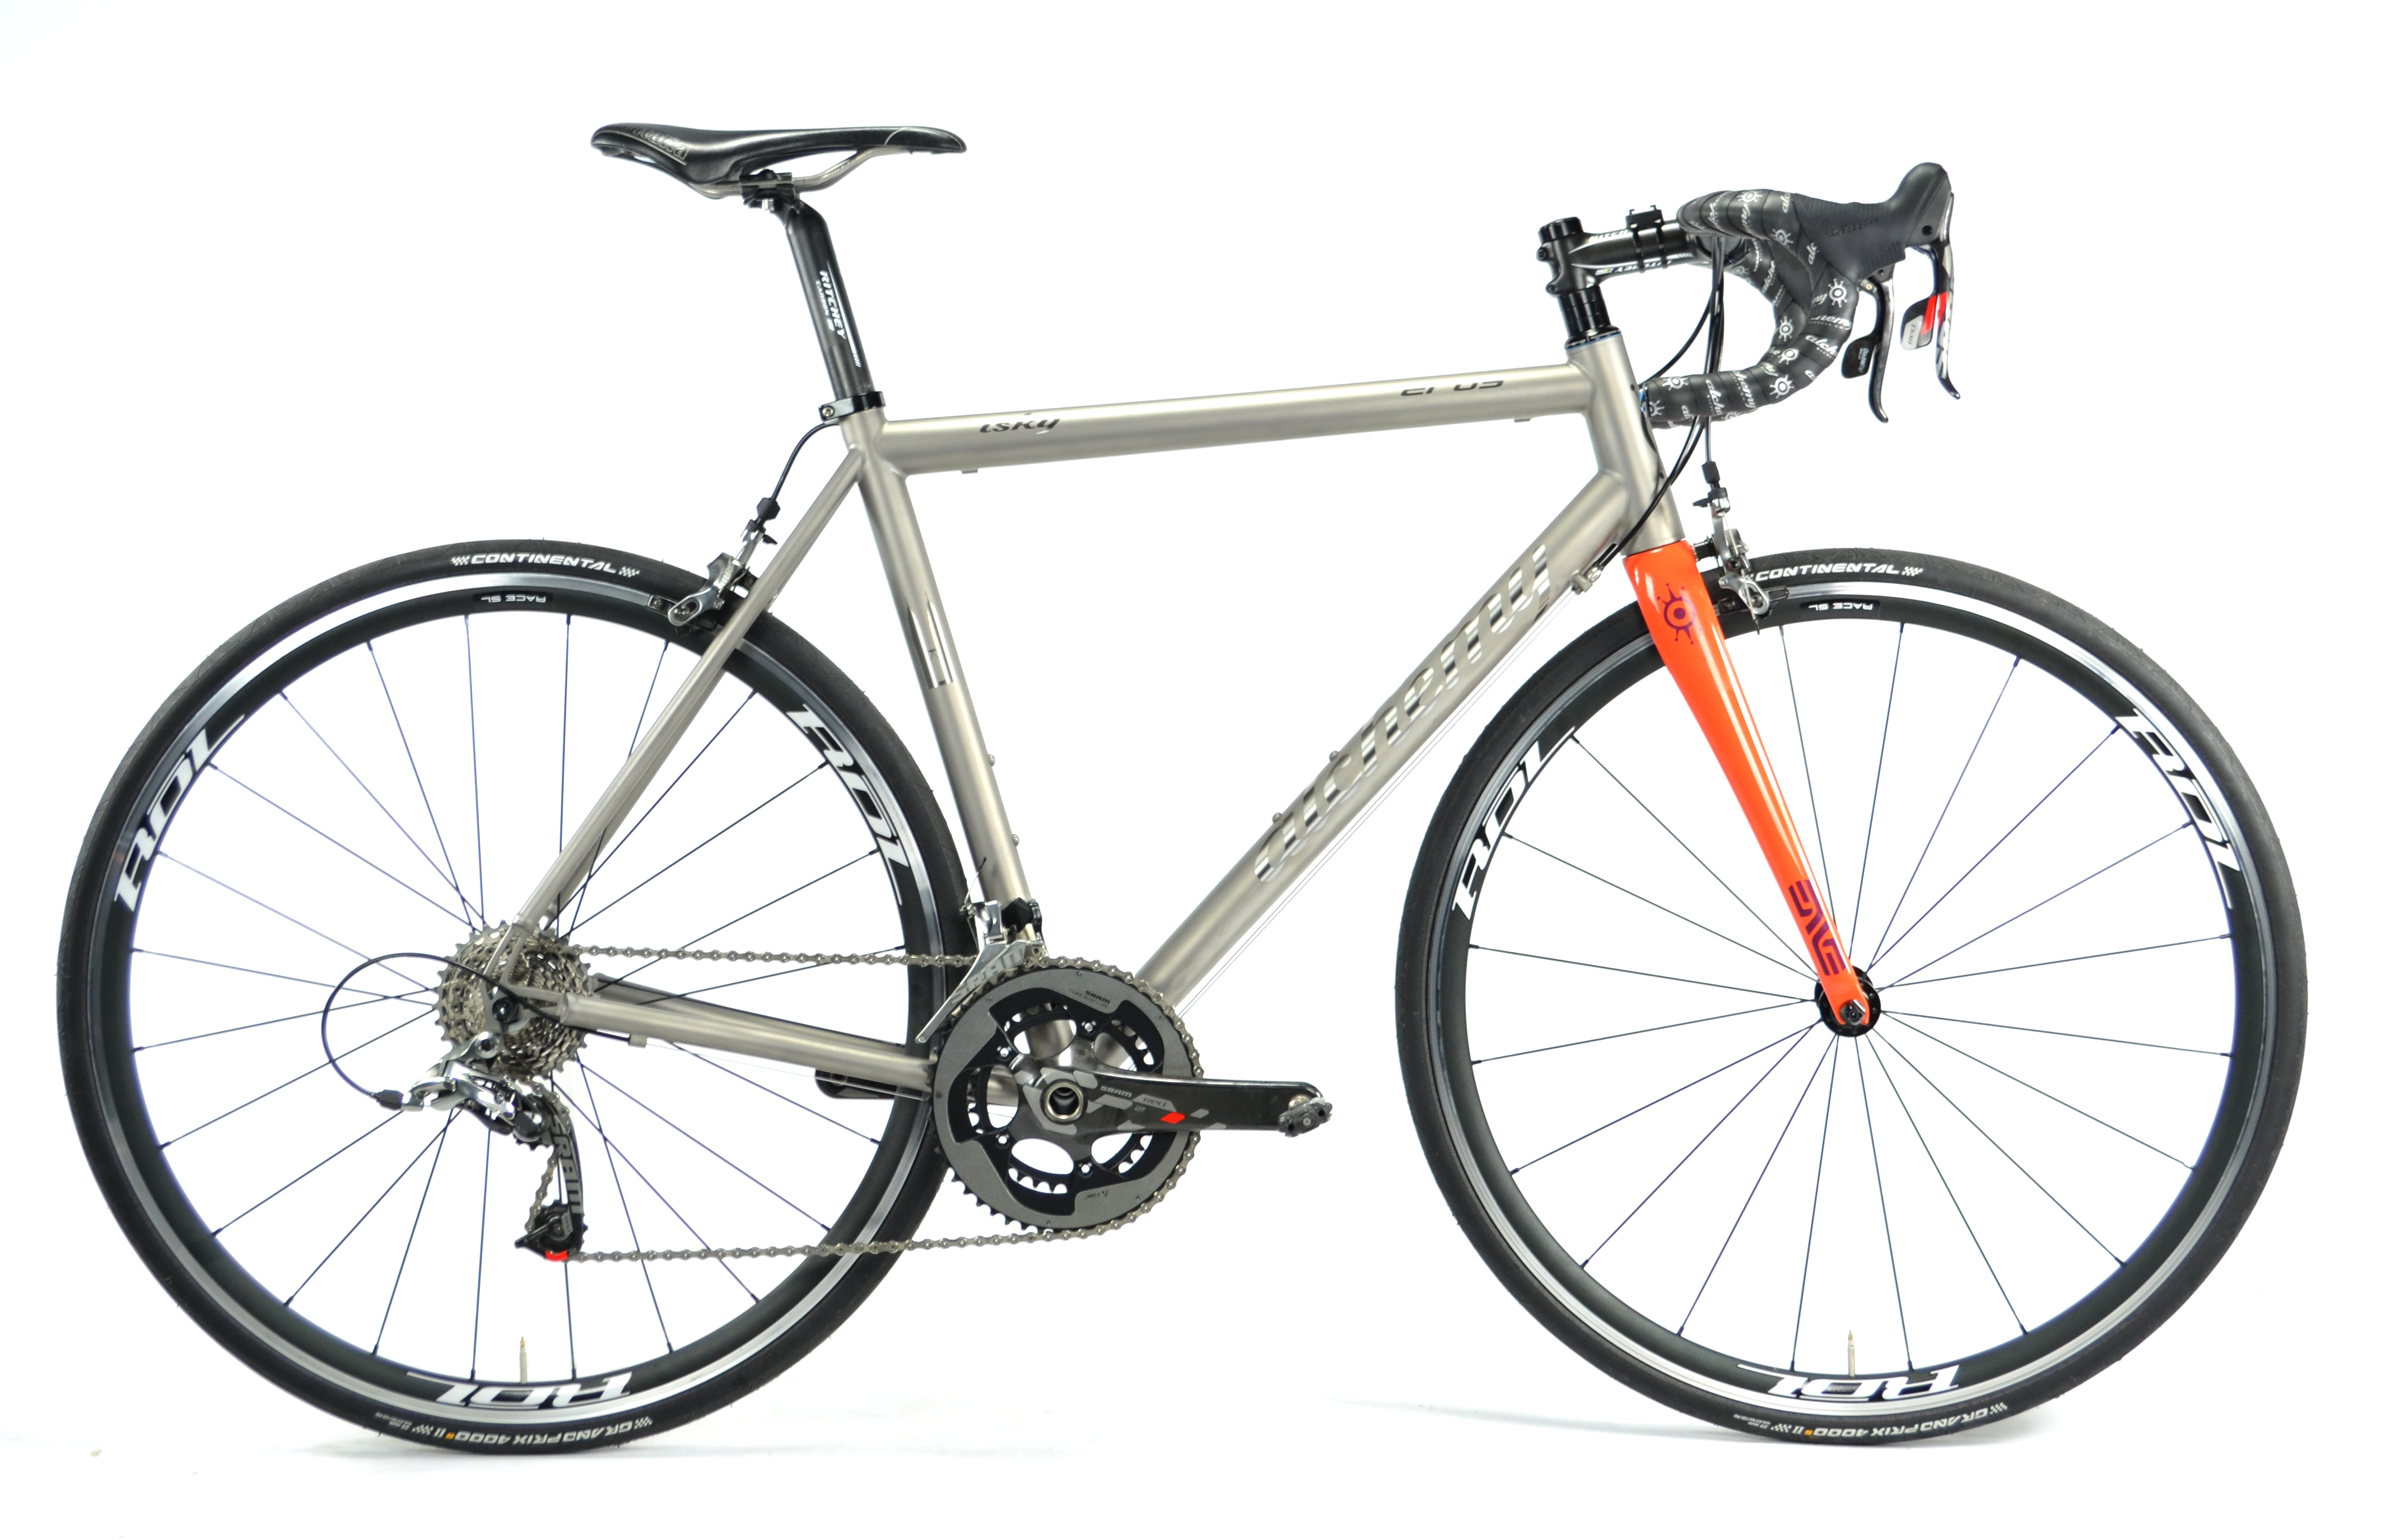
I have worn a sleeveless base layer under a jersey on long rides for a few months now.

Audax BRM 200 Malaysia 2016 JM Air Kelapa Marco

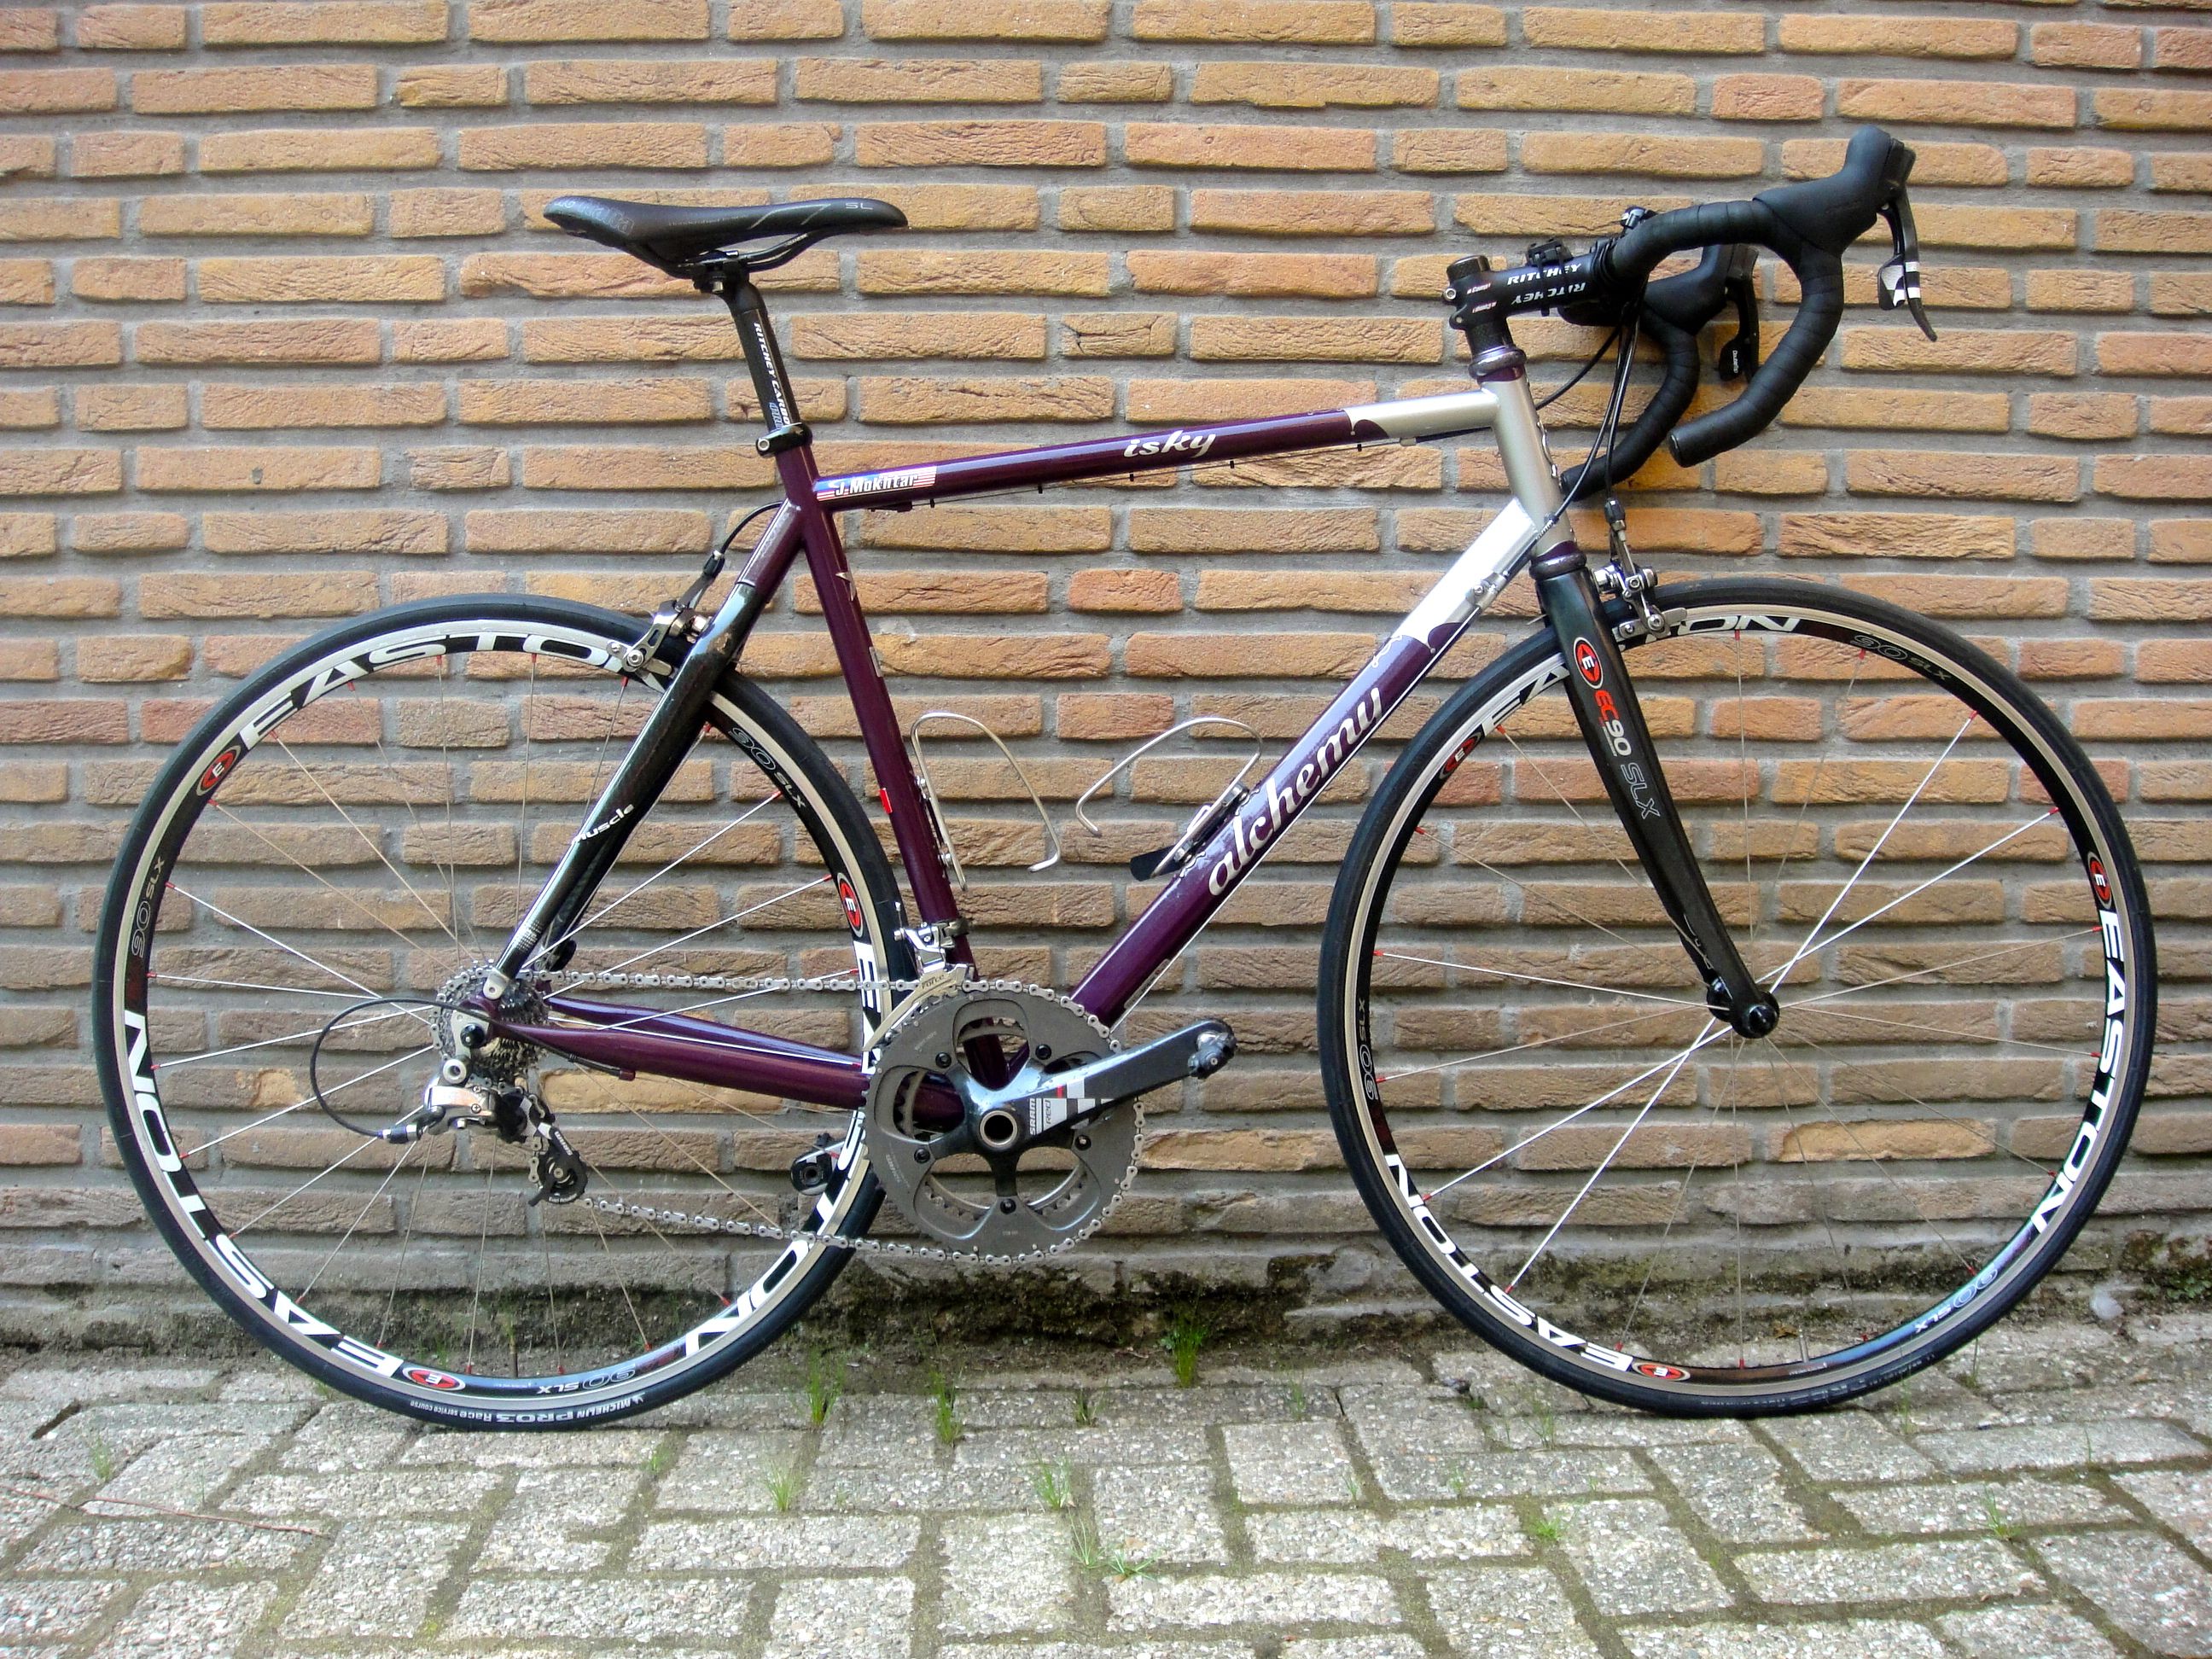
Photograph courtesy of Marco

In the absence of riding with a rectal thermometer to provide quantitative data, I can’t tell you how many degrees cooler my core temperature has been with a base layer on.  Plus there are too many other variables to consider – ambient air temperature, level of exertion, hydration etc.

However I can report that in my case, a base layer does what it claims to, which is help keep me cool in hot weather.  My base layers  are much more breathable than my jerseys, which helps with evaporative cooling.  The same process that makes my arms feel cooler when I wet my arm screens.

I also feel more comfortable riding with a base layer on.  It wicks moisture away from my body, so I don’t have a soaked jersey clinging to me.

I can unzip my jersey and not have rivulets of sweat dripping down my torso.  For a heavy perspirer like me, this is a big plus.  It is also easier on the eye for my riding companions as I sit with an open jersey at rest stops.

An advantage of a base layer that most riders agree on is that the extra layer between jersey and skin provides some protection against road rash in the event of a fall.  I hope not to test that claim!

It is forecast to be at least 33° C / 91°F this Sunday, during the Pulau Indah 180.  My base layer says “Bring it on!”

Beat the Heat


Diagnosing That 🔥💀💣⚡ Tick Creak

Tick Creak Solved

Honey Have You Seen My Magic 8 Ball?

keep-calm

Graphic courtesy of Laurie Niestrath at lsniestrath.wordpress.com

It started as an occasional click.  Coming from, it seemed, the bottom bracket.  Unhelpfully, all unwelcome noises on a bicycle seem to emanate from the bottom bracket.  I hoped that the noise would go away by itself.  After all, my bike was clicking intermittently, and only when I pedalled.

But that click didn’t go away.  Instead it soon become a constant staccato tick / creak.  Impossible to ignore.  And very irritating.  Especially as I was riding   my new bike.  New bikes are not supposed to tick / creak!

I worked through the possible causes as I ticked / creaked my way through the ride.  Failing bearings in the press fit bottom bracket?  I hoped not.  Notoriously difficult to fix, and likely to be expensive.

A problem with the rear hub?  A broken pawl perhaps?  I wondered if the hub was easily user-serviceable.

Maybe the spokes were to blame?  Rubbing where they crossed from rear hub to rim?  A drop of oil needed in the hub flange spoke holes?

Loose chainring bolts perhaps?  I don’t think it could be the crank bolts.

Could it be my pedals that were ticking / creaking?  Didn’t I just clean and relube them?

Or was the source of the noise something else entirely?

“Yes honey.  I definitely need that Magic 8 Ball.”


Calling All Strava Geeks

Strava Logo

“My greatest fear in life is forgetting to turn on Strava.”

“If it’s not on Strava, it didn’t happen.”

I’m not as fanatical about Strava as those who subscribe to these quotes may be.  Close though.

All my rides are saved on Strava.  Most of my riding buddies use Strava too.  There is something quite satisfying about reviewing ride metrics on Strava.  Not to mention completing challenges and winning trophies.  Even if those trophies are just icons on your profile.

And I am a Premium Member.  Which unlocks additional goodies like the Suffer Score, and Filtered Leaderboards.

I’ve recently discovered more Strava goodies.  Courtesy of Strava Labs.

The millions of activities uploaded to Strava have created a dataset of nearly a trillion GPS data points.  Strava Labs showcases interesting projects that use this dataset.

Projects like The Roster, which visually analyses your athletic social habits, total group activities and your preferred training partners.  In my case, ranging from someone I have ridden with 111 times, to the person I rode together with only once.

Or The Global Heatmap, which answers the question “What do 220,000,000,000 data points look like?”

The data points for Malaysia produce this heatmap.

Heatmap courtesy of Strava Labs

Heatmap courtesy of Strava Labs

The global heatmap is zoomable.  This is the center of Kuala Lumpur at maximum zoom.

Heatmap courtesy of Strava Labs

Heatmap courtesy of Strava Labs

Then there is The Clusterer.  This project creates a map that is searchable by distance and activity type.  This map shows the four most popular ride routes around Kuala Lumpur.

Heatmap courtesy of Strava Labs

Heatmap courtesy of Strava Labs

Clockwise from top right are Genting Sempah to Janda Baik, Hulu Langat, KESAS and Guthrie Corridor to LATAR.  The small loop in the center is the OCBC Cycle Malaysia 2014 route, which was saved to Strava by 190 people.

The KESAS Night Ride, by contrast, clusters 1,830 rides.

Heatmap courtesy of Strava Labs

Heatmap courtesy of Strava Labs

There are more projects listed on the Strava Labs homepage.  There is also a link to a blog where you can read about Strava’s technology, culture and latest projects.  And if you fancy developing your own project, the Developers link takes you to a comprehensive portal for information about the Strava API.

Enough to keep a Strava geek occupied for days.

My New Best Bike: The Alchemy Eros

Photograph courtesy of Alchemy Bicycle Company

Photograph courtesy of Alchemy Bicycle Company

It has been two months since I laid my hands on this Alchemy Eros.  Since then this bicycle has carried me a little over 1,400km / 870 mi.  That is not an extensive amount of time or a huge distance.  But enough for me to like this bike.  I like it a lot.  So much so that I was comfortable selling the two Alchemys that came before this one.

Alchemy has what they call a Baseline DNA Chart.  Alchemy has rated each of their current lineup of bicycles on three dimensions:  ride comfort, drivetrain stiffness, and steering precision.

Chart courtesy of Alchemy Bicycle Company

Chart courtesy of Alchemy Bicycle Company

This chart nicely summarises what I like so much about my Eros as compared to the bikes that came before.

My first Alchemy was this mostly steel frame.

Alchemy ISKY 1 1

It has Columbus Muscle carbon seat stays, and an Easton EC90 SLX carbon fork.  This was my first road bike, built for me in January 2010.  Alchemy’s builder then, James Flatman, spent a number of hours talking to me about the kind of riding I did, and what I wanted to do with the bike in the future.  At the top of my list was comfort.  I was just starting to ride longer distances.  The BP MS150 was still an aspiration.  I had yet to ride an imperial century.  I wanted a compliant bicycle to get me through those longer rides to come.

If that steel bicycle were on the Baseline DNA Chart, I would think it would score 2 (compliant) for ride comfort and drivetrain stiffness, and 3 (moderate) for steering precision.  It is certainly not a bicycle that translates every last watt the rider puts through the drivetrain into forward motion.  It does have some get up and go, but it is designed for comfort.  It is a lovely bicycle for long rides.

In January 2011 I was talking to James again.  I had been bitten by the cycling bug.  It was time to upgrade.

I had covered 3,000km / 1,864mi on the steel bike.  I still wanted comfort, but also wanted a bicycle with better power transfer.  James’ answer was this bike, with a titanium front triangle, a Columbus Muscle carbon rear triangle, and an Edge carbon front fork.

Alchemy ISKY 2 1

In Baseline DNA terms, I would score this bike 2 (compliant) for ride comfort, and 3 (moderate) for drivetrain stiffness and 3 steering precision.  This bicycle is as comfortable as the steel one.  Blindfolded, I’m not sure if I could tell the difference in the ride quality between the two.  But this frame certainly flexes less than the steel one.

Come mid-2015, and I had conjured up an excuse to upgrade again.  Alchemy had moved to Denver, and had expanded their lineup of offerings.  These offerings were also becoming much more sophisticated as the Alchemy design team developed their craft.

Ryan Cannizzaro is a founder of Alchemy Bicycle Company, and I have known him since his Austin, Texas days.  He and I exchanged emails and chatted over Skype about what I was looking for in a new bike.  I wanted a stiffer, better handling bike, and still in a metal frame.  Given the characteristics of the two Alchemys I already owned, Ryan suggested the Eros.    He felt that the Aiolos would be too similar to the titanium bike I already had.

Ryan’s recommendation was spot on.  As you can see from the DNA Baseline Chart, the Eros has greater drivetrain stiffness and steering precision than my previous bikes.  In fact, identical to the Alchemy Helios and Alchemy Aithon.  So I have carbon characteristics in a fully titanium bike, apart from the Enve carbon fork.

This bike frame has no discernible flex, at least at my decidedly non Cavendish-like power output.  The Eros is rock-solid at speed.  I have descended on it at 80kph / 50mph.  No sign of shimmy or a wobble.   It certainly has a sharper response to steering input.  This improved handling does come at the cost of ride comfort though.  I do find myself steering around rough patches of road much more than I did on my other bikes.  Or lifting off the saddle if I have to ride through the rough stuff.

The additional road vibration is a small price to pay for the increased performance.  I will miss Alchemy 1 and Alchemy 2, but I wouldn’t trade my Eros for them.

For more on the Alchemy Eros, Road Bike Action magazine has a review in their October 2015 issue.

Pump It Up

At the Shah Alam Enduride 2015, Marvin, Justin and I came upon two people with flat tires.  Not unusual.  What was more unusual was that neither was carrying a pump.

This post is about my chosen tire inflation devices.  What I carry with me, and what I have at home.

I used to carry CO2 canisters and a chuck, either in a jersey pocket, or more often in a saddle bag.  Much like this set from Genuine Innovations.

Genuine Innovations Chuck

This combination got the job done, but at the risk of freezing a thumb and perhaps a finger or two in the process.

I graduated to an inflator like this one, also from Genuine Innovations.

Genuine Innovations Ultraflate

This type of inflator protects hands from getting frozen, and also has a large trigger that is easier to use that the ‘press to inflate’ chuck.  The disadvantage is the additional bulk.

I was happy with my inflator and CO2 cartridges until I moved to the Netherlands.  I read an article about the wastefulness of discarding empty CO2 canisters.  The Netherlands has a strong recycling ethic, and the combination of the two convinced me to switch to a hand pump.

I read some reviews, and Lezyne pumps got good scores.  So I looked at their website, and made my choice.  A medium sized Lezyne Pressure Drive.

Pressure Drive

I chose the Pressure Drive because it can inflate a tire to 120psi / 8.3 bar.  It also comes with a hose that has a threaded Presta valve connection on one end, and a Schrader valve connection on the other.  I also like the flexible hose because it puts less stress on the valve stem while pumping up a tire than a direct-connect pump does.  The threaded connector is easier to attach to a valve than a hose that attaches with a lever.

Pressure Drive Hose

The medium sized Pressure Drive is 216mm long, and it fits in a clamp that attaches to the frame together with a bottle cage.

Pressure Drive Bracket


The Pressure Drive works very well on the road.  So well that I have given away my CO2 canisters and collection of inflators.

But it does take some effort to inflate a tire to 90psi / 6.2 bar and above.  So for home use I bought a Lezyne Classic Floor Drive.

Classic Floor Drive

The Floor Drive will inflate a tire up to 220psi / 15bar, although I don’t fill my tires beyond 90 psi.

The Floor Drive comes with a large gauge, so it is easy to tell when you have achieved your desired tire pressure.

Classic Floor Drive Gauge

It also has a threaded Flip-Thread Chuck that fits both Presta and Schrader valves.

Floor Drive Chuck


I am very pleased with my Pressure Drive and Floor Drive pumps.  I am sure they will continue to serve me well for a long time to come.

LifeBEAM Smart Helmet

LifeBEAM Banner

Regular readers know that I am a fan of gadgets.  If it is a cycling gadget, I am truly hooked.

I read some reviews of the LifeBEAM helmet.  The technology intrigued me.  Optical sensors read pulse signals directly from the forehead, and state of the art algorithms then remove ‘motion-generated noise’, process all the data in real time and send accurate heart rate numbers to a mobile device.

The prospect of no longer having a heart rate monitor strapped to my chest appealed to me.   The fact that this technology was initially developed by LifeBEAM to monitor the vital signs of pilots and astronauts only added to it’s appeal.  I logged on to the LifeBeam site, invoked that financial facilitator known as Paypal, and ordered a helmet.

The helmet arrived with a few extras.  A cloth carrying bag, and this carry on carbon case.  Most unusual for a cycling helmet was of course the micro USB charging cable.

LifeBEAM Case

The optical sensor and electronics module are built into a Lazer Genesis helmet.  From the side the helmet looks like any other unmodified Lazer Genesis, apart from the discreet LifeBEAM logo.

LifeBEAM Side

The view from the rear reveals the dark grey electronics module, including a triangular light-grey flap that covers the micro USB charging port, and the blue status light.  Barely visible below the status light is the power button.

LifeBEAM Rear

The optical sensor is inside the front edge of the helmet, surrounded by a gel pad.

Photograph courtesy of DCRainmaker.com

Photograph courtesy of DCRainmaker.com

The optical sensor must be resting against the skin of your forehead, not too tight or too loose.  If you wear a helmet liner or a skull cap, it must not obstruct with the sensor. You will have to find the sweet spot where the helmet fits comfortably and the heart rate is being displayed.

Animation courtesy of LifeBeam

Animation courtesy of LifeBeam

The helmet comes with both ANT+ and Bluetooth 4.0 connectivity.  So it will pair with all Garmin devices, as well as Suunto, Timex, and other ANT+ enabled watches.  On the Bluetooth side the helmet will pair with mobile phones, and is therefore usable with the slew of iOS and Android cycling, running and general fitness apps.

Initial setup was simple.  Charge the battery, turn on the electronics, and pair the helmet with your device of choice.

On my Garmin Edge 705 I went into the Settings > ANT+Sport > Accessories menu and selected Restart Scan.  The Edge 705 picked up the transmission from the helmet in seconds.

Photograph courtesy of Lowcadence.com

Photograph courtesy of Lowcadence.com

The Lazer Genesis is a comfortable and well-ventilated helmet.  The fit is easily adjusted with Lazer’s Rollsys retention system.  The optical sensor is unnoticeable.  Wearing the LifeBEAM Smart helmet is like wearing any other helmet.  The only difference being the added 40g / 1.4oz weight of the electronics.  And that it transmits my heart rate to my Edge 705.

This helmet does exactly what I had hoped it would.  I can track my heart rate data, (essential for generating Strava Suffer Scores), without wearing a chest strap.  There is no discernible difference between the heart rates transmitted from the helmet and those from my chest strap mounted heart rate monitor.  And “yes” the helmet is more comfortable than the chest strap.

The helmet comes with one other useful extra that chest straps do not offer.  Lazer have developed an LED light that fits inside the Rollsys thumb wheel.  You turn the light on and off, and switch between constant and flashing modes, by pushing on the clear lens cover.

Photograph courtesy of Bikerumor.com

Photograph courtesy of Bikerumor.com

I unreservedly recommend the LifeBEAM Smart helmet.  Both for the excellent integration of optical sensor technology into a cycling helmet, and for the outstanding customer support I received when I had a problem with my helmet.

The first helmet I received worked impeccably on rides of less than two hours or so.  But on longer rides the helmet would either stop transmitting to my Edge 705, flat line at some arbitrary heart rate, or it would transmit erratic heart rate data.

An email to LifeBEAM support produced a quick response.  Over the next few weeks a regular exchange ensued as the support team troubleshot the problem.  They looked at Strava data files from my longer rides, and conducted some diagnostic tests during a Skype chat session.

Despite the best efforts of the support team, the helmet continued to behave erratically on longer rides.  The suspect was a faulty optical sensor.  So LifeBEAM quickly did what all customers would expect when equipment malfunctions right out of the box.  They provided a replacement helmet, free of charge.

My replacement helmet arrived two weeks ago.  It has performed faultlessly, no matter how long the ride.  The optical sensor has been unaffected by rain, and the copious amounts of sweat off my forehead.

The LifeBeam Smart helmet is a winner.

LifeBEAM logo

Rapha Grand Tour Shoes Extended Use Review

I wrote a review of my Grand Tour shoes in June 2013.  I had ridden about 11,000 km / 6,835 mi in them at the time.  At the time I concluded that the Rapha Grand Tour shoes are worth their weight in gold.

Since then I have covered another 7,500 km / 4,660 mi.   My opinion is unchanged.

Of course the shoes are showing a fair degree of wear.  Largely cosmetic in nature.  The soles have scrapes in them.

GT Soles

The toes are scuffed.

GT Toes

As are the heel cups.  The left heel cup shows the result of being scraped along the tarmac in a crash.  The rubber bumpers on the soles are very worn.  Not all the way down to the sole, but well on the way there.

GT Heels

The uppers are no longer the brilliant white they were out of the box, but they are still in good condition.

GT Side

As are the insoles.  The images and the text are still legible.

GT Insoles

The shoes have soaked up all the abuse I have thrown at them.  They require very little care.  Admittedly I could have cleaned them more frequently than I have done.

These shoes have remained the most comfortable pair of cycling shoes I have owned.  They still fit like gloves.  The velcro straps and buckles continue to work faultlessly.  I wear them on every ride.  Rain or shine.

In my previous review I said I expected to get at least 11,000 km more out of these shoes.  I have no doubt that these shoes will carry me the remaining 3,500 km to meet that target.  These Rapha Grand Tour shoes are still worth their weight in gold.

VeloViewer

VeloViewer

I am an unashamed geek at heart.  I’ll drop whatever I am doing to look at gear and tools at any time.  An article titled “2 Performance-Enhancing Digital Tools for Cyclists” on Active.com caught my eye last week.

Of the two cycling apps discussed in the article, VeloViewer immediately appealed to me.  I clicked on the in-article link without reading much about the second app, Golden Cheetah.

VeloViewer links to your Strava account.  The initial setup will take some time if you have a lot of rides saved.  Once all your data is imported into VeloViewer, there are multiple ways to visualize your rides.

The opening screen has eight tabs.  Click the Summary tab and the app lists your activity statistics at the top of the screen.  I haven’t included that part of the screen in the shot below.  The statistics include:   Activity count, Total distance, Total elevation, Total time, your top five rides by Maximum distance, your top five rides by Maximum elevation, and your top five rides by Maximum time.

These statistics can be filtered by year, by activity type, and gear type.

The main part of the screen is in the screen shot below.  It shows all your rides in a variety of ways.  Rides are sorted by distance, elevation, and time.  Hover over one of the boxes, and details of the rides in that category are displayed.

In this case the screen shows all years, and a combination of all gear types.  In my case gear types are the three bikes I own.

The line chart on the left lists my rides by year.  My Strava account has rides starting in 2010.  So there are five lines for each year from 2010.  You can select what the lines show:  total distance, total elevation, total time or number of rides.

The graph paper table on the right lists all my rides, again by year.  I chose the day view, but you can choose to show rides by week or month.  Most impressive is that each of my rides are color-coded from light yellow for lowest value, to deep red for highest value.  The values themselves are user-selectable from nine categories, including average heart rate and average power.

On the lower left are summary statistics off all the segments I have ridden, and on the lower right are climbing statistics listed by category of climb.

Screen courtesy of veloviewer.com

Screen courtesy of veloviewer.com

There is more to the summary screen, which is not shown in the screen shot above.  Scroll to the bottom of the summary screen and you will see your ten most recent activities, and a summary of activities by gear.  In my case summary details of all the rides I have done on each of my three bikes.

Click on a ride, and you are taken to a map of that ride, like the one below, shown in full-screen view.  In the normal map view, the profile of the ride is displayed along the top of the screen.  As you move your cursor along the profile, a marker shows the corresponding position on the map.

Screen courtesy of veloviewer.com

Screen courtesy of VeloViewer

There are a number of other views, including this 3D profile of the route in the map above, color-coded by steepness of each segment.

Screen courtesy of veloviewer.com

Screen courtesy of veloviewer.com

There are seven other tabs that display an array of data about the selected ride.

There is more to this app that I have yet to explore. Which makes this a dangerous app for geeks like me.  The last thing I need is yet another way to fritter time away.

It is bedtime.  Tomorrow’s ride starts at 6.30am.  I’ll just take a few more minutes to explore the Wheel tab.

Wheel

Screen courtesy of veloviewer.com

All your rides for the current month or a user-selected time period appear on the outer ring of the wheel.  The elevation profile is also displayed, along with the length of each ride.  Click on a ride, and its segment rotates to the top of the wheel.  The map of that route occupies the center of the wheel.

If you download VeloViewer – happy frittering!

LifeLine ID: Don’t Leave Home Without It *

Posted on

131206_Lifeline ID Leaflet-02

I have been known to ride without a helmet.  But I do not get on my bicycle without some form of identification on my person.  Usually that is an ID bracelet on my wrist.  Displaying information like this.

LifeLineID Info

I have had an ID bracelet since I started cycling five years ago.  It gives me peace of mind that if I were ever knocked unconscious or were unable to speak, my ID would speak for me.

This type of ID for cyclists, runners, and other outdoor sports enthusiasts was previously available only in the United States.  Thanks to Cheong Yue-Jin, this essential item, in a variety of styles, is now available in Malaysia.

LifeLineID Types

When I have to update the information on my ID tag, I will give Yue-Jin a call.  If you don’t already have a LifeLine ID, I recommend that you contact Yue-Jin at info@ayuhkayuh.com.  Your own LifeLine ID may be a life saver.

Check out the LifeLine ID page on Facebook, or the LifeLine ID website for more information.  You will see that this is a quality product, with prompt customer service direct from Yue-Jin.

Need any more incentive to get your own LifeLine ID?  How about a 10% discount off all items?  The mid-year sale is from June 16th to June 30th.

You may not want to ride strong, but you have no excuse not to ride safe.

* Thank you American Express!