Since the Pink Ride 8.0 on 12th January 2025 I had not ridden another metric century. In the forty-one days before 5th July 2025 I rode three times, covering a total of 106.5 km.
So it makes perfect sense that on the 5th I signed up for the Audax Randonneurs Malaysia (ARM) 10-Anniversary Permanent 100 ride to be held on the 13th. There was a BRM200 that day as well. That distance is clearly beyond me.
ARM is a cycling club promoting long-distance cycling events (randonnées) in Malaysia, following the guidelines of Audax Club Parisien. Audax, meaning “bold” or “daring” in Latin, signifies the challenging nature of these endurance rides.
My history with Audax Randonneurs Malaysia dates back to 2nd January 2016, when I rode the first ride organised by ARM. Since then, ARM has organised more than ninety Audax rides, including some of 1,000 km and more. These are the ones I rode:
| Date | Ride | My Blog Post URL |
|---|---|---|
| January 2016 | BRM200 | https://alchemyrider.me/2016/01/05/audax-brm200-malaysia-2016/ |
| September 2016 | BRM400 | https://alchemyrider.me/2016/09/22/audax-brm400-malaysia-2016-part-1/ https://alchemyrider.me/2016/09/22/audax-brm400-malaysia-2016-part-2/ |
| January 2017 | BRM300 | https://alchemyrider.me/2017/01/03/audax-brm300-malaysia-2017/ |
| January 2019 | Pink Ride 2.0 BRM200 | https://alchemyrider.me/2019/01/15/brm200-pink-ride-2-0/ |
| January 2020 | Pink Ride 3.0 BRM200 | https://alchemyrider.me/2020/01/14/brm200-pink-ride-3-0/ |
| January 2023 | Pink Ride 6.0 Permanent 100 | https://alchemyrider.me/2023/01/16/permanent-100-brm-200-pink-ride-6-0/ |
| January 2024 | Pink Ride 7.0 Permanent 100 | https://alchemyrider.me/2024/01/23/audax-pink-ride-7-0/ |
| January 2025 | Pink Ride 8.0 Permanent 100 | https://alchemyrider.me/2025/01/16/pink-ride-8-0/ |
My preparation for this ride consisted of a 27.4 km ride on Friday 10th and a 39.8 km ride on Saturday 11th. Not the best of physical preparations, but it had to do. For what it is worth, I did have a freshly-lubricated chain!
It was off to the Setia Alamsari Welcome Centre in Bangi on Saturday afternoon to collect my brevet card.

My always supportive Biker Chick and I stayed at the Le’genda Hotel in the Union Square complex in Bangi.
We also stayed there before the Pink Ride 7.0 in January 2024. The Le’genda is a comfortable boutique hotel with lots of dining options nearby.

Staying at the Le’genda gave me at least one extra hour of sleep before I had to be up. I rode the 5 km from the hotel to the starting point at the Setia Alamsari Welcome Centre. I got there well in time for the 5:00 am flag off.
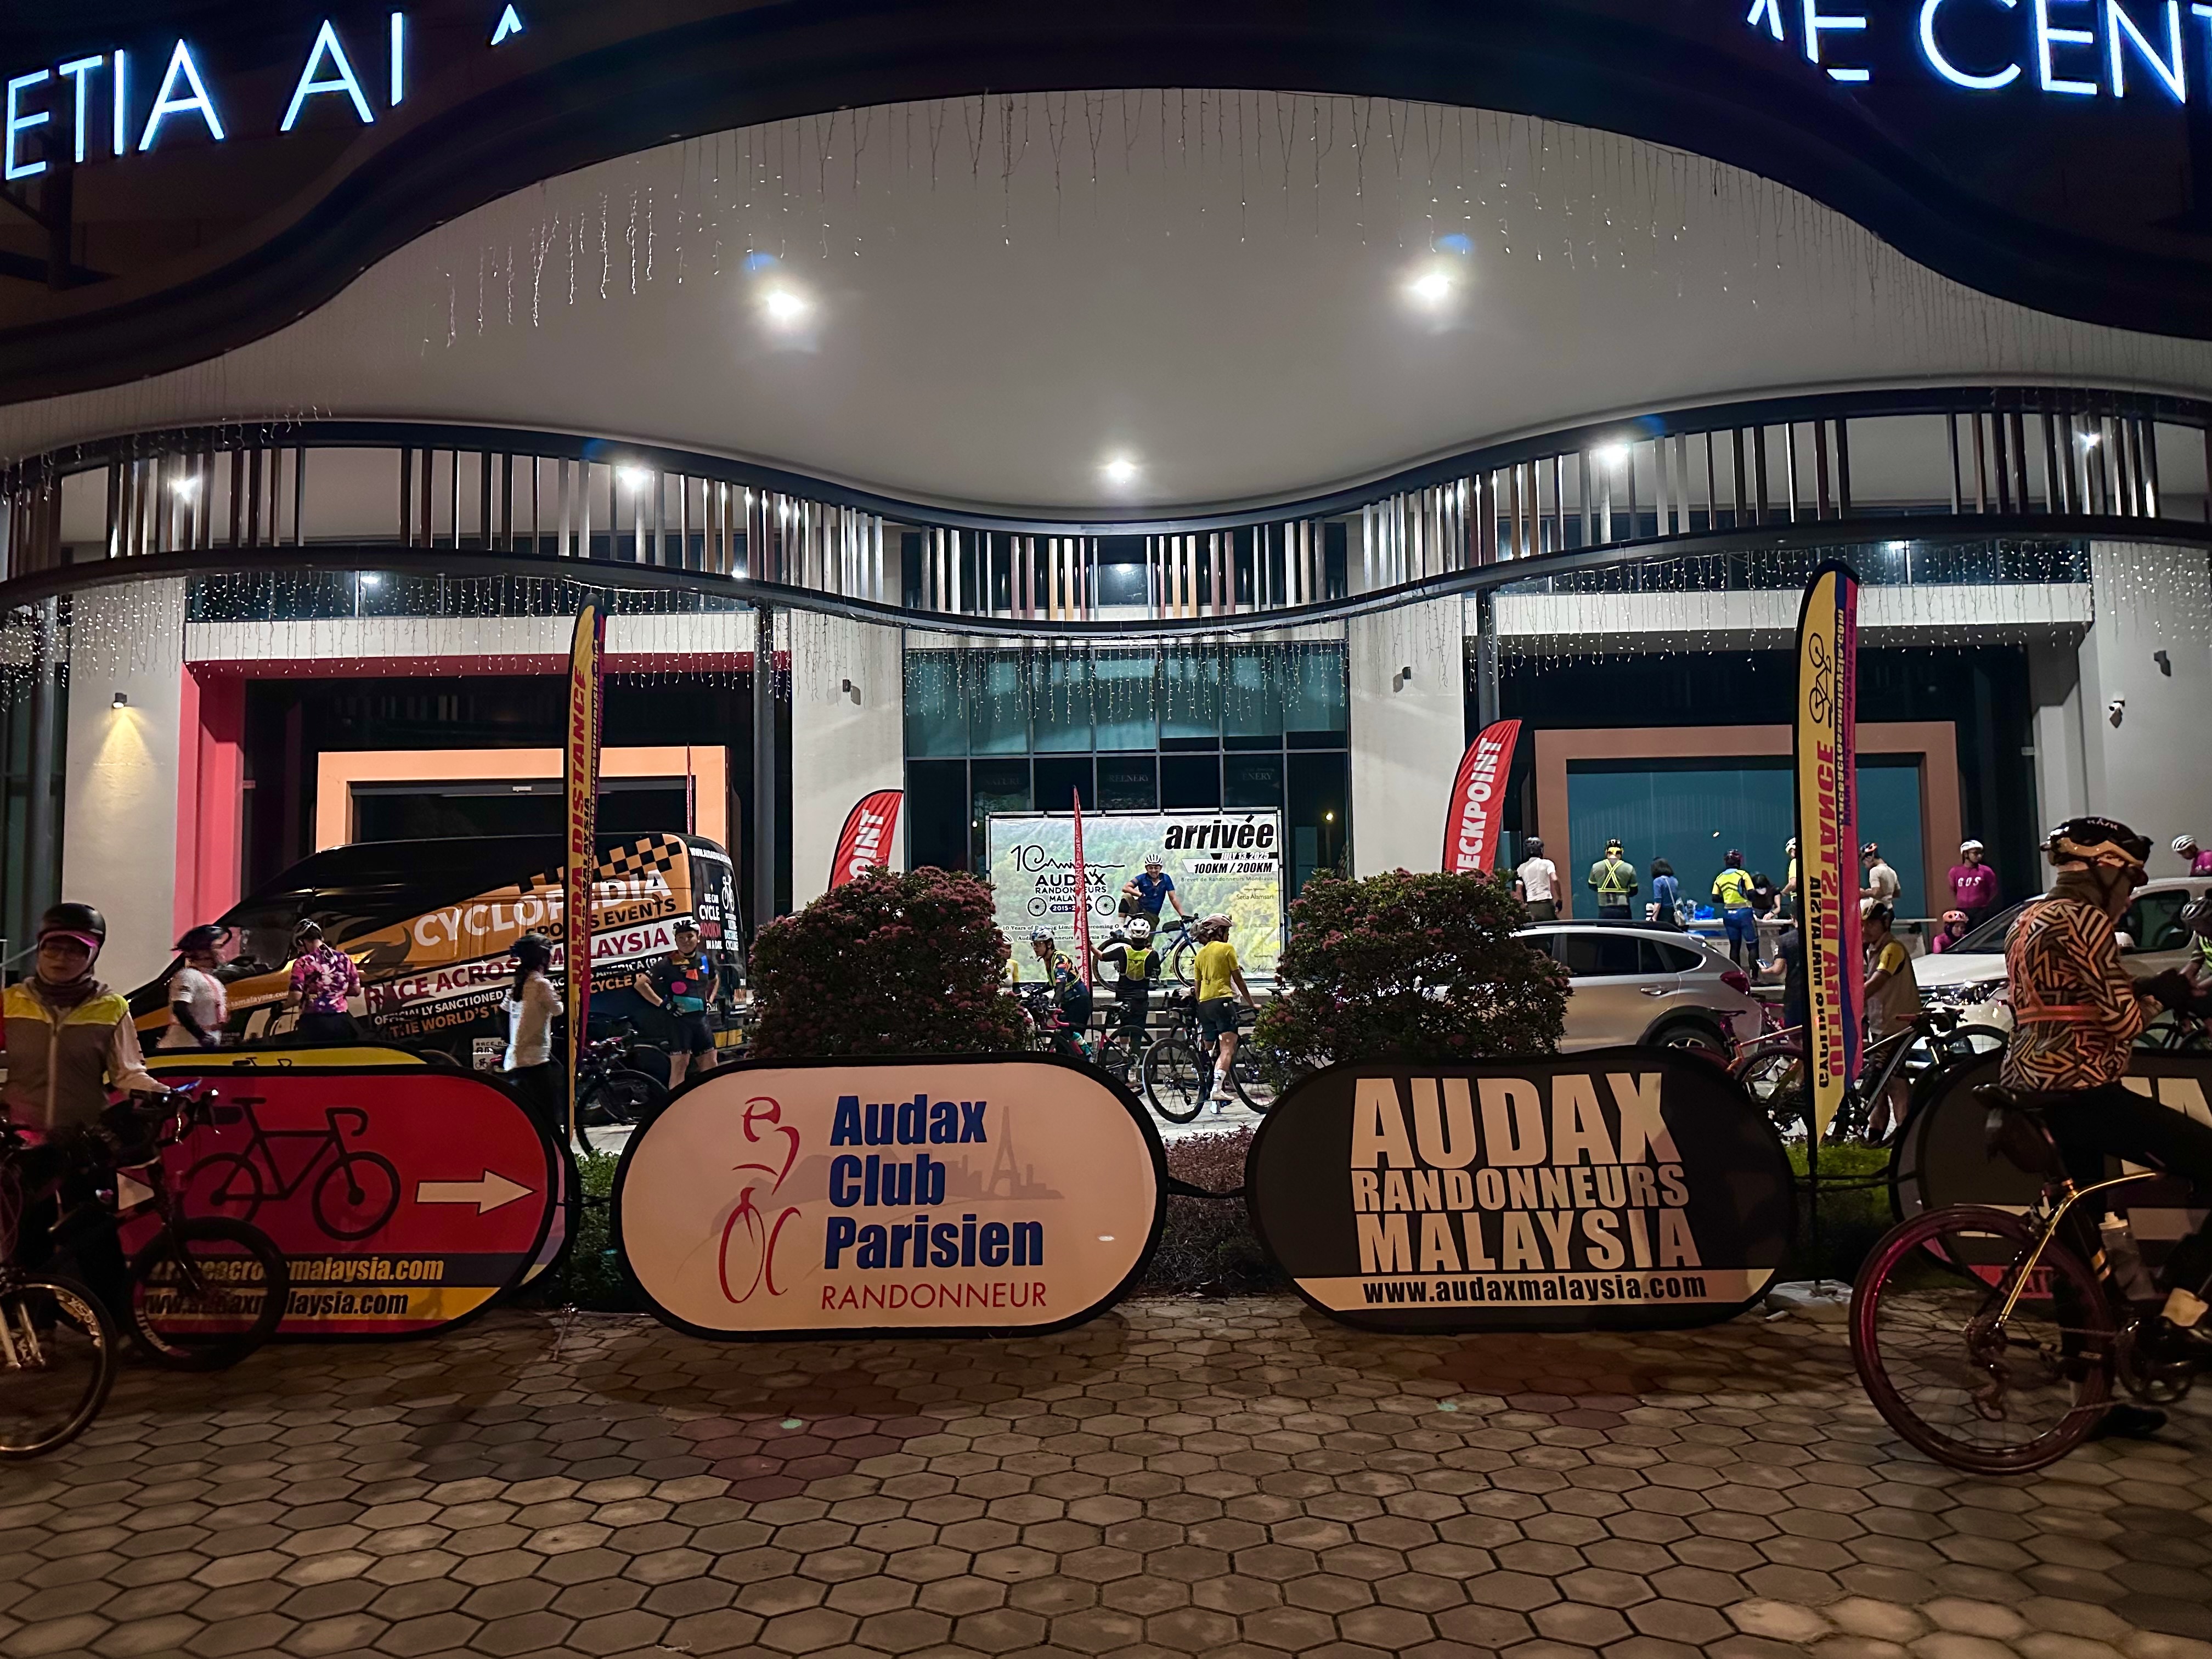
I should say “air horn off”. Which sounded at precisely 5:00 am. I rode this event solo, in the company of about two hundred others.

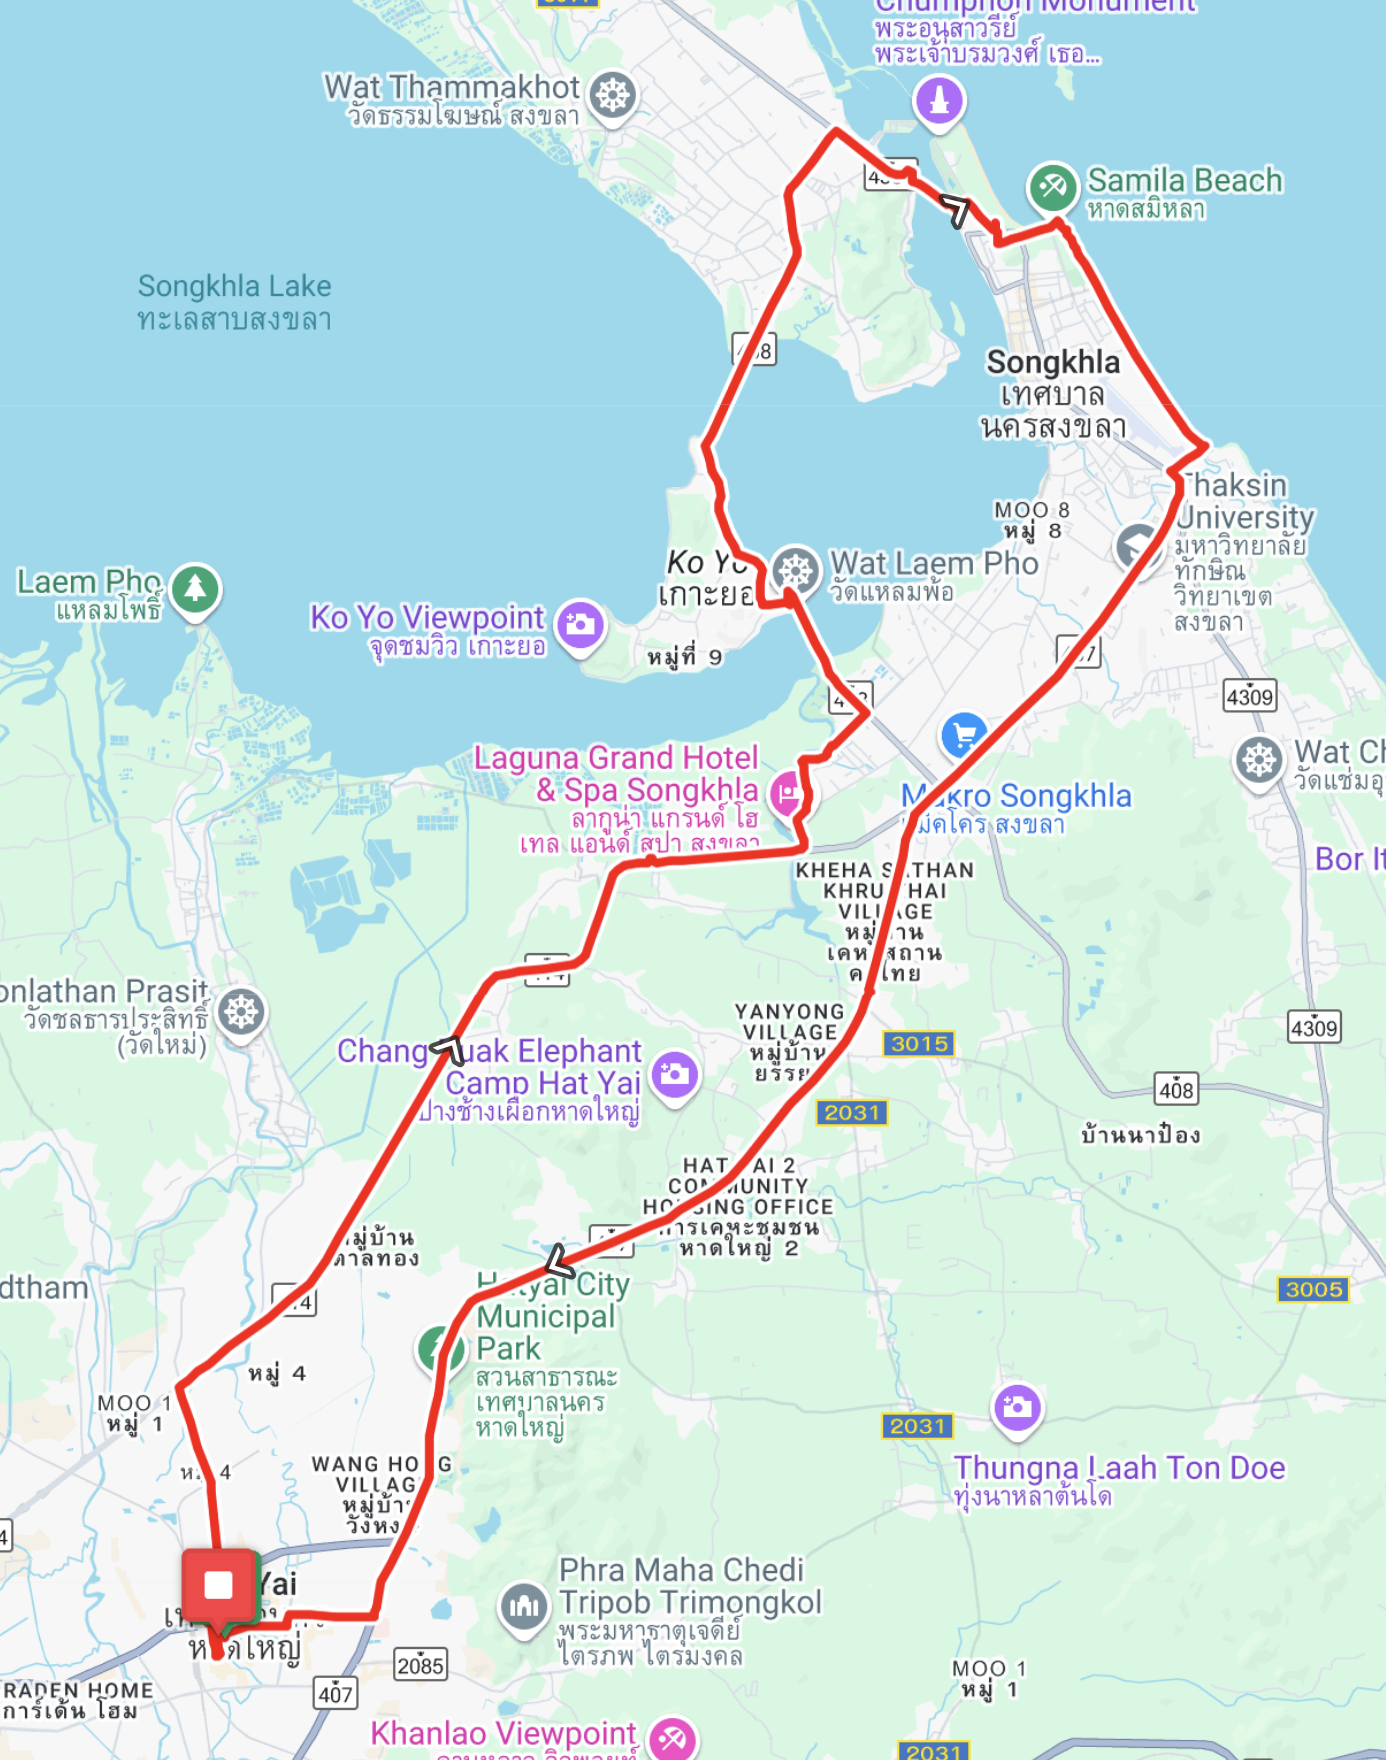
This was the Permanent 100 route.

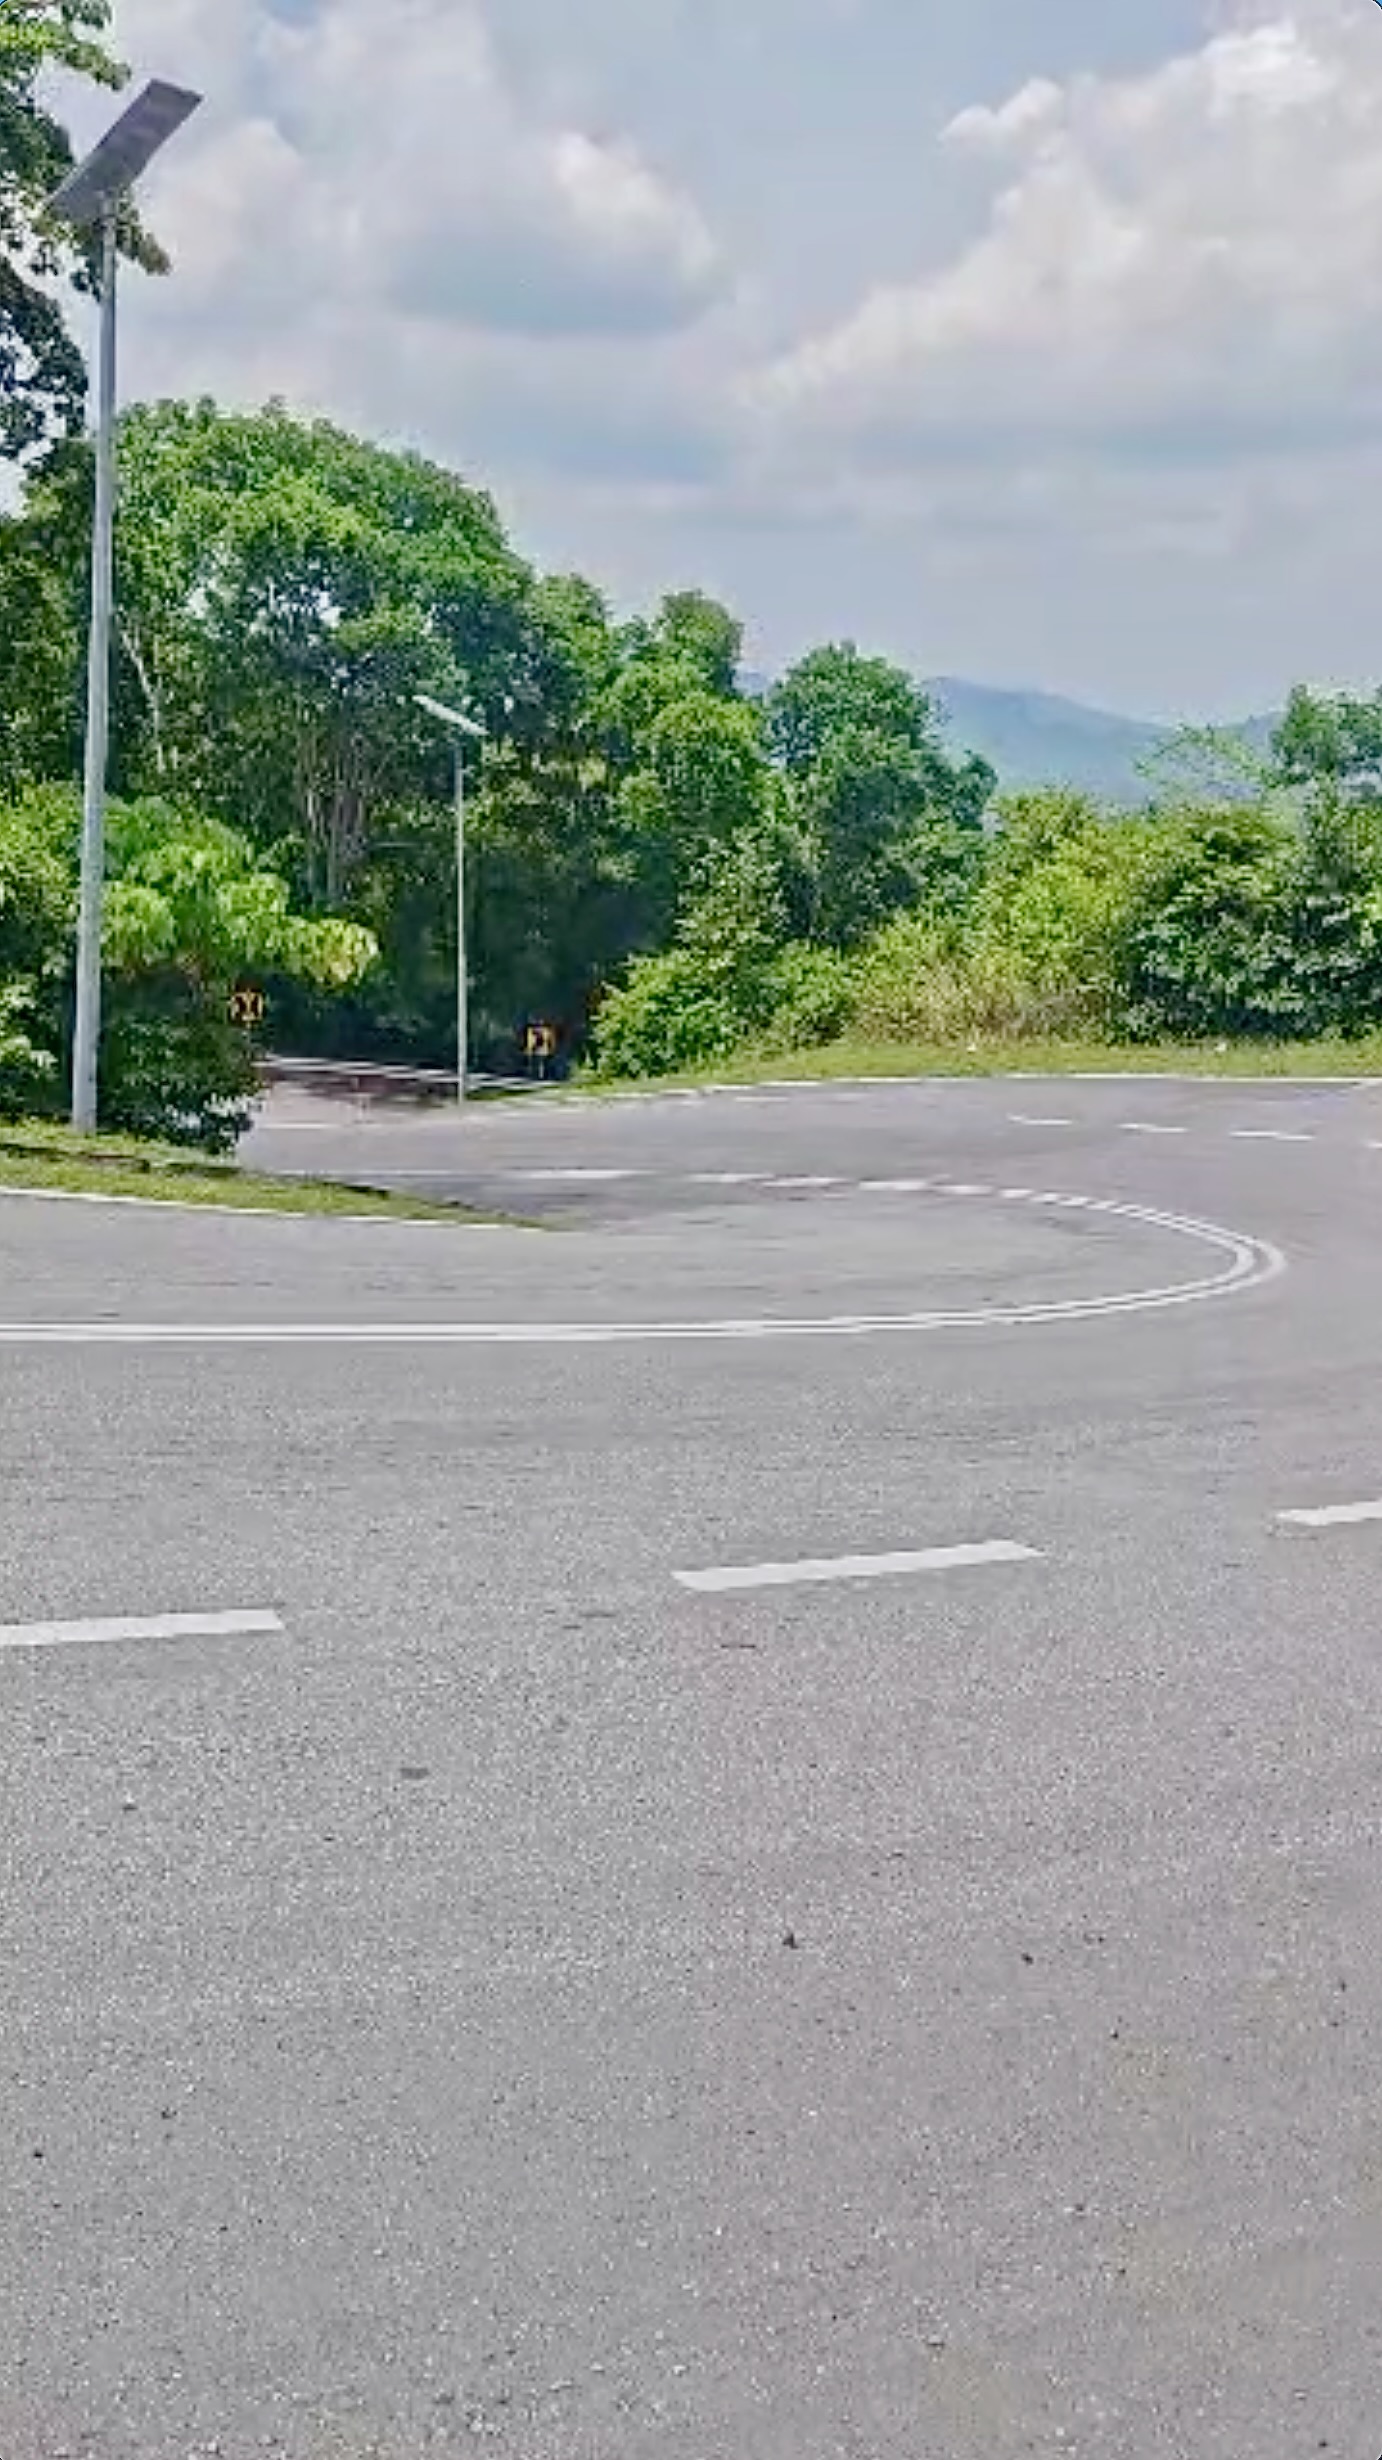
3 km from the start, we were off large divided roads and onto narrow rural roads like this.
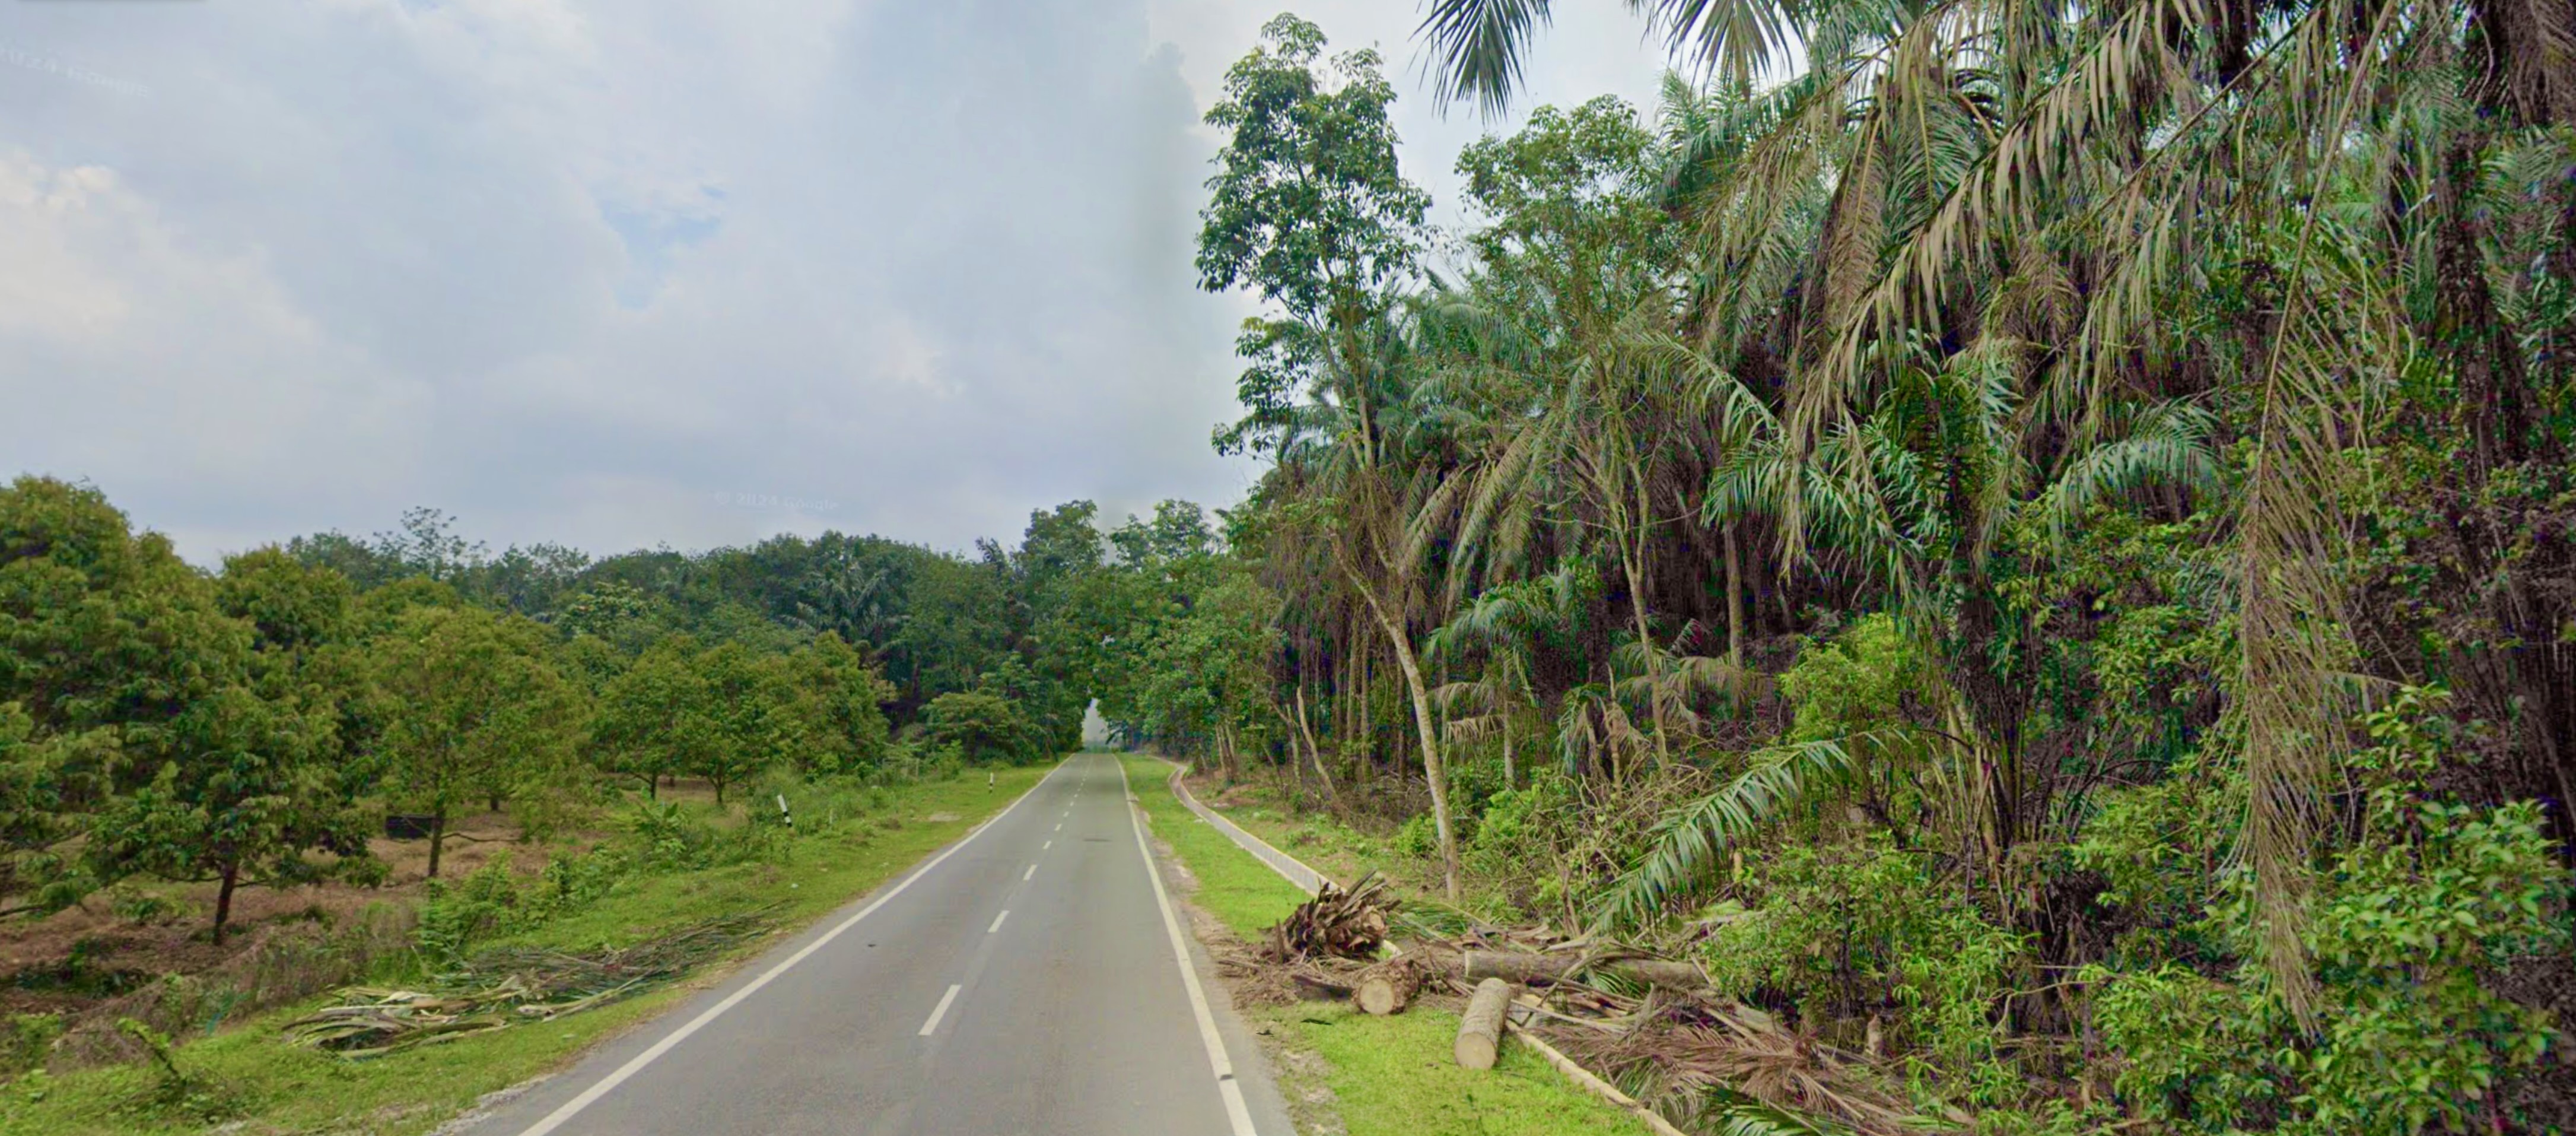
You have to imagine riding these roads in complete darkness. The cloudy sky blocked the light from the almost full moon. It was a relief to be riding amongst dozens of other cyclists, each lighting the way.
After 20 km or so, the group was spread out along the road. By then, we were in a built-up area, which means there were street lights. The street lights were increasingly useful as the cloudy sky started dropping rain. Just a drizzle at first, but it wasn’t long before it got heavier. Fortunately, the rain stopped after an hour.
By that time, we were back on rural and unlit roads. I am glad I fully charged my headlight before this ride.
Bitter experience has taught me to drink regularly. I have suffered more than a few times from the effects of dehydration. I carry one 24-oz bottle on my bike. Assuming the routes I ride frequently pass by petrol stations, mini markets, and restaurants.
By KM 35, my bottle was almost empty. In the glow of my headlight, I saw this sign at KM 36.

While keeping an eye out for the Petron station, I stopped to photograph the Sri Sendayan mosque at KM 38.5.

I never saw the Petron station because it is on the road that runs to the left and behind the mosque. If there was a sign at the junction just after the mosque pointing toward the Petron station, I missed it in the dark.
At that point, I was riding along the four-lane Jalan Felda Senayan through a built-up area. I was confident of finding a petrol station or a mini market somewhere there. That confidence faded at KM41 when the route turned right onto the rural Jalan Jimah Lama.
Fortunately, at KM 45, I came upon Warung Makan Lesong Batu, which is the only shop selling food and drink for miles around. I poured a carton of Milo down my throat and refilled my bottle with water.

By that point, I had been riding on my own for some time. The Permanent 100 and BRM200 routes split at the Jalan Jimah Lama junction. 150 riders out of the 200 or so starters would continue along Jalan Felda Senayan.
The Permanent 100 route turned right just before the warung and quickly left onto Jalan Hijayu 1/29. A group of five cyclists made those turns as I was getting back on my bike to leave the warung. I thought about chasing after them, but came to my senses. I didn’t have bags of energy to burn.
The group disappeared into the distance. Jalan Hijayu 1/29 follows the Sungai Likut Besar for a couple of km. It was just past 7:00 am. It was getting light, so I relaxed and enjoyed the view..

The only checkpoint on the Permanent 100 route was at Restoran Aniepha, 55 km into the ride. That is where I caught up with the five cyclists who were ahead of me. They were already set to ride on. After getting my brevet card stamped, I sat for a while and rested my feet. I was starting to get “hot foot.” My shoes must have been done up too tightly.

My next stop was at the Shell station in Sepang to drink a carton of chocolate milk, eat a Snickers bar, and visit the restroom.

The Sepang Shell station was at KM68. The weather had stayed overcast and cool. I was drinking and eating enough. I am sure it helped that I regularly sucked on Ricola herbal drops. I still have a persistent cough that I picked up six weeks ago. The “unique blend of 10 Swiss Alpine herbs” helped with my cough, and the sugar no doubt kept my energy level up.
The road out of Sepang Town towards Bangi is Jalan Sepang – Jenderam. That road has been in a state of constant construction for years. The plan is to expand it from two lanes to a divided four-lane. Some of the work is complete, but the new roadway is not yet open to motorised traffic.
However, you can cycle on it. 3.5 km from the Shell station, I was on fresh tarmac.
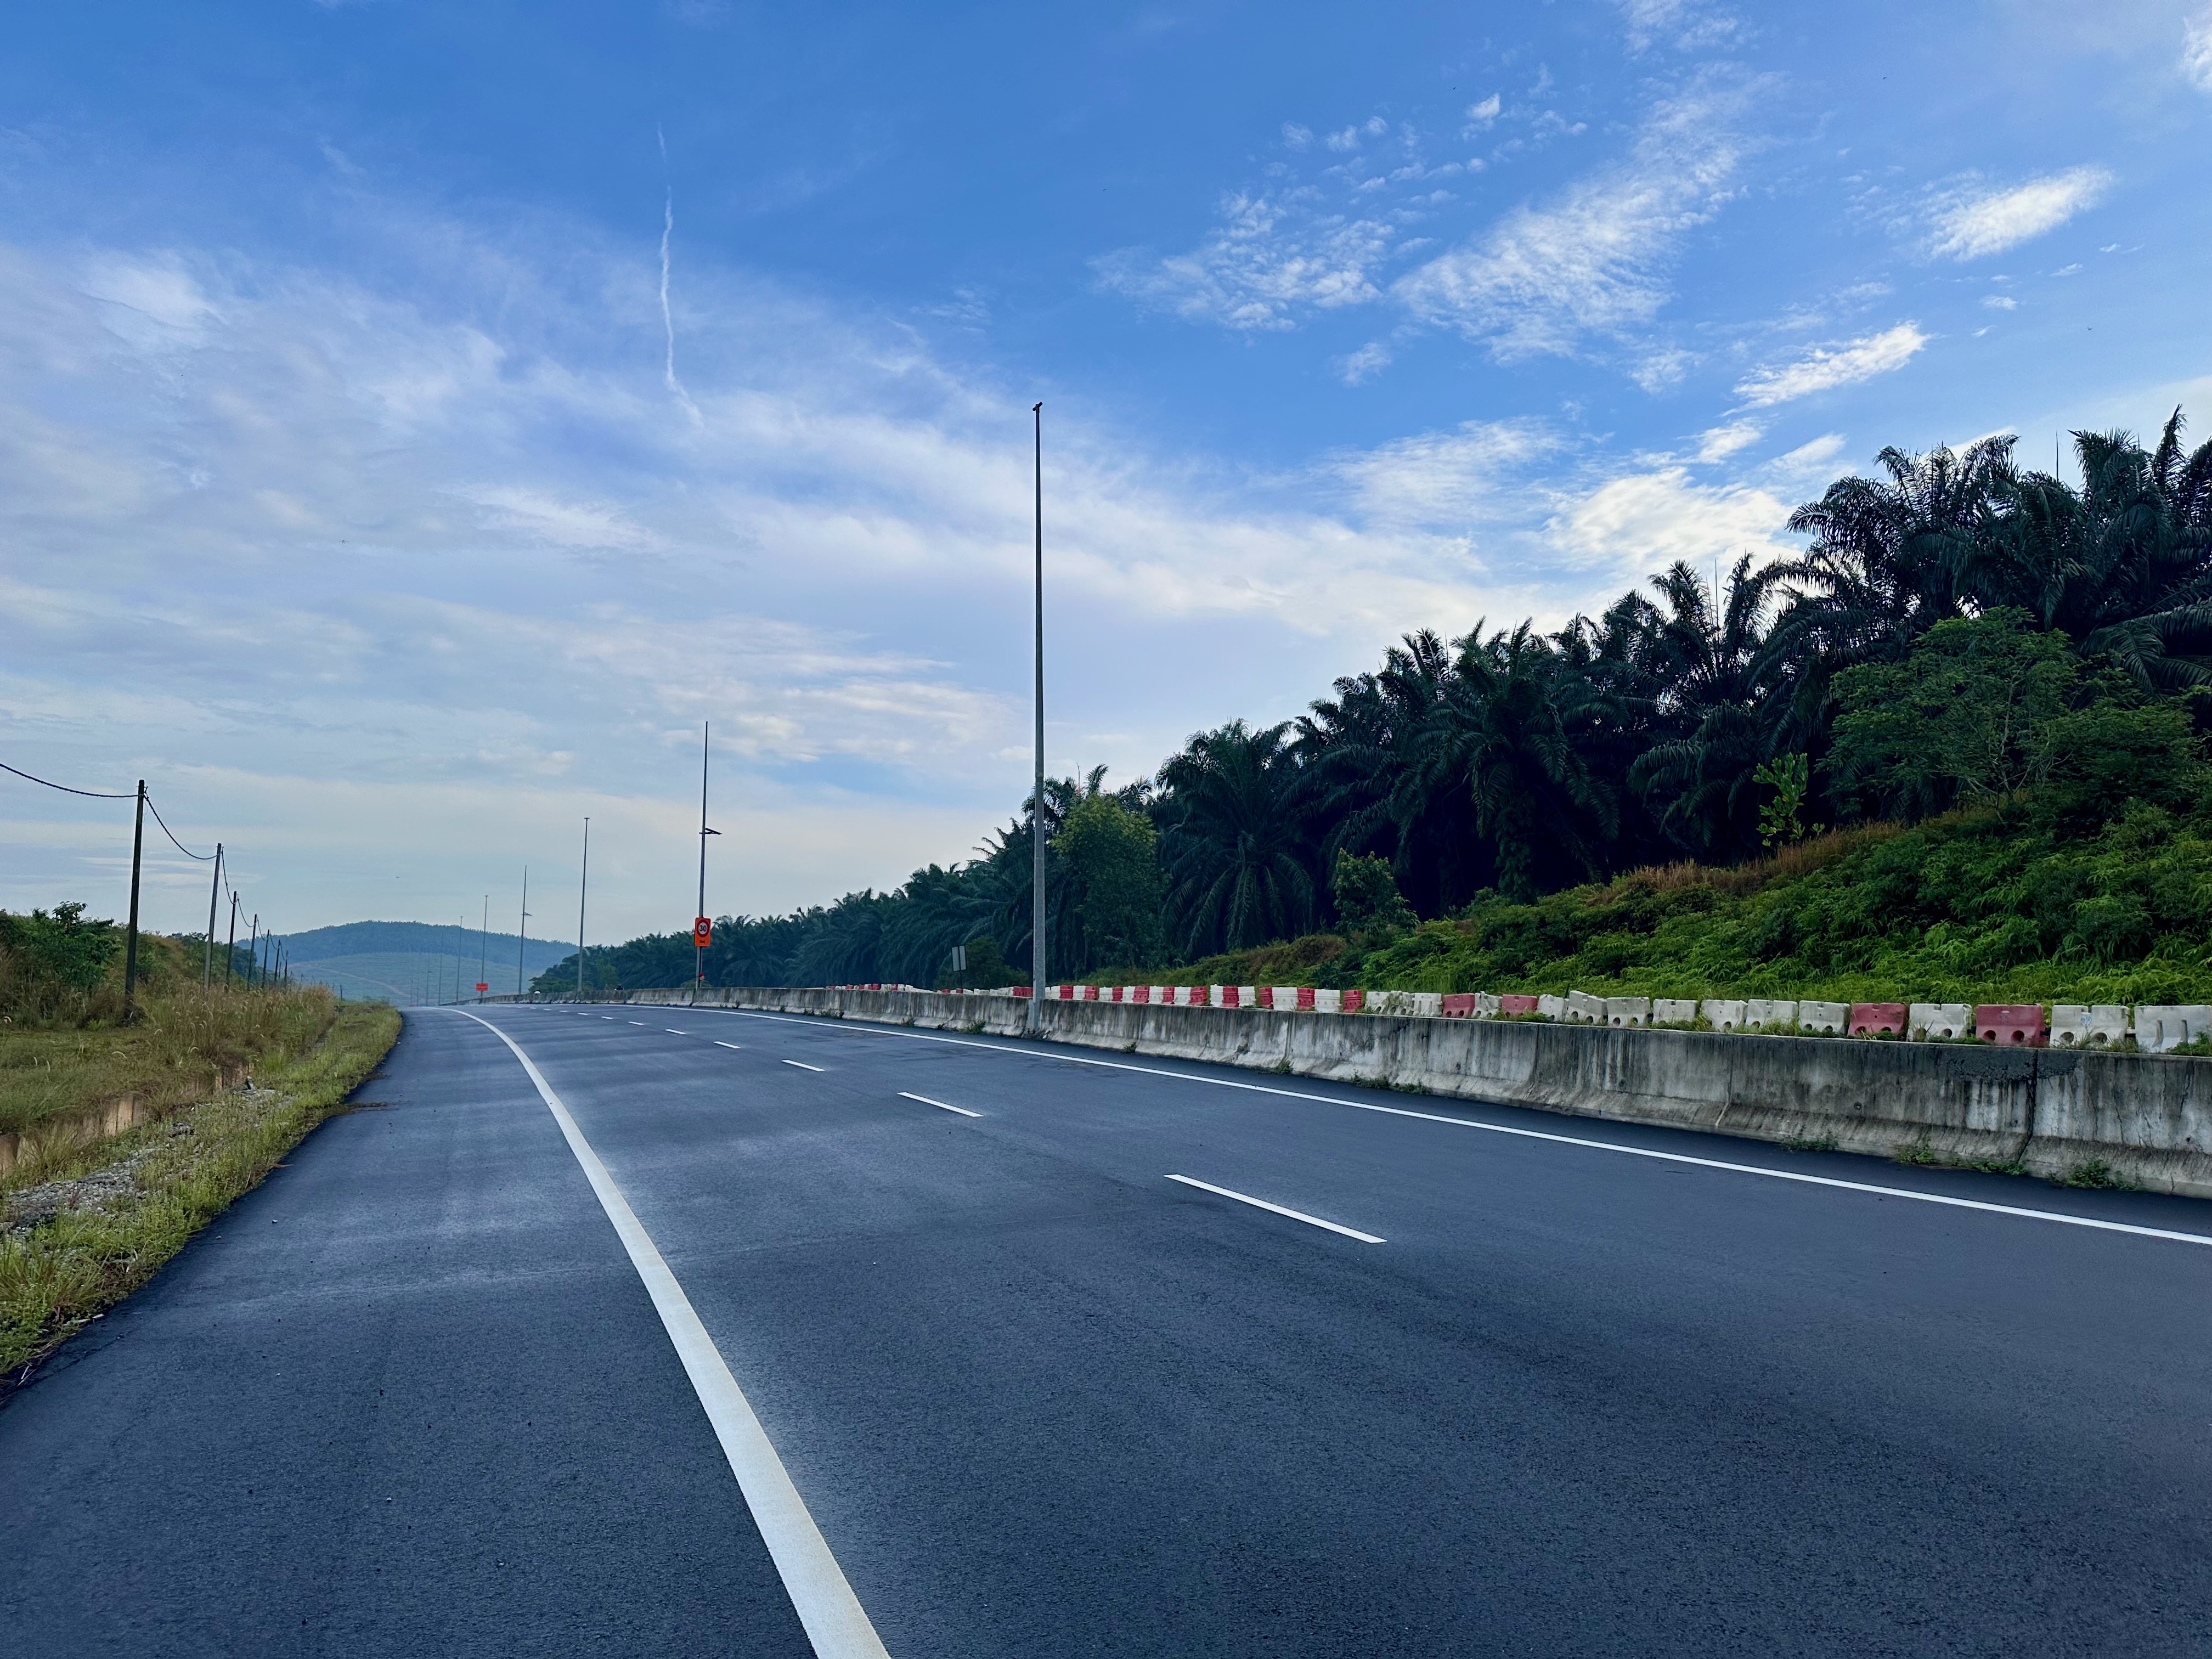
All good things come to an end. Fresh tarmac gave way to gravel at KM 73.9. That was still better than riding close to vehicles. That would have been even more dicey as the road shoulder was non-existent in places.

I had no choice but to get back onto the road amongst traffic at KM 75.6. Fortunately, the construction ended 1 km further on, so there was a reasonable road shoulder to ride on into Pekan Salak.
I needed to refill my bottle at the Petronas station in Pekan Salak. I had another chocolate milk while I was there. I needed the carbs to get over the series of hills on the way to the finish. Not least the 2 km climb from KM 81 with a maximum gradient of 9%.
My hydration and nutrition strategy paid off. I got to the finish just after 10:00 am. No flats. No cramps. I was pleased.

With my brevet card stamped and finisher’s medal in my pocket, I rested in the Welcome Centre A/C for a while before cycling the 5 km back to the hotel.

A shower followed by a nap. Then dim sum at BACC Seafood, followed by churros at Chulop! A very nice ending to an excellent weekend.

This is the slate of Audax rides for the rest of 2025.

The shortest ride is the Audax Merdeka Ride BRM200 on 16th August. I need more than one month to get ready for a 200 km ride.
Perhaps the Pink Ride 9.0 next January.